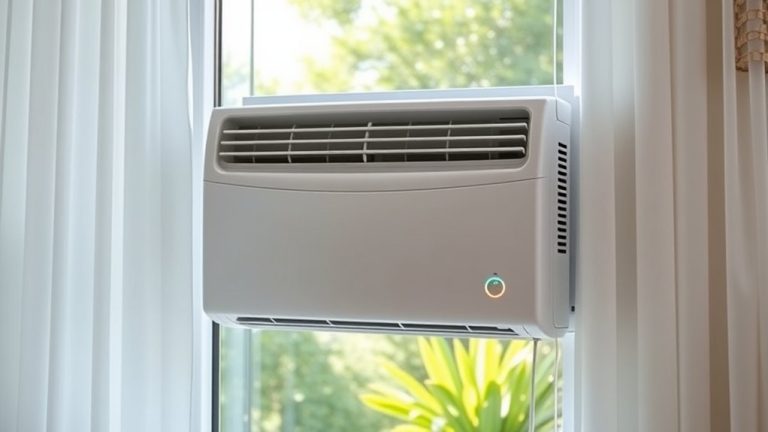
10 Easy Steps to Clean Your Air Conditioner Indoor Unit
To clean your air conditioner indoor unit, first turn off its power and clear the workspace. Remove and inspect the air filter, then clean or replace it based on condition. Use a soft brush and coil cleaner on the evaporator coil, and flush the drain line with a vinegar solution.
Next, wipe the exterior casing with mild soap, gently brush the cooling fins, and clean the louvers and vents. Reassemble the unit and test its operation.
Following these steps guarantees efficiency and air quality. Plus, diving into further details can really boost your maintenance skills.
Why Clean Your Air Conditioner Regularly
Although you mightn’t notice it immediately, cleaning your air conditioner regularly is essential to maintain indoor air quality by trapping dust, pollen, and allergens that can affect your health and comfort.
Regular cleaning helps prevent mold and mildew growth, which thrive in moist conditions and pose health risks.
Regular cleaning stops mold and mildew, protecting your health from harmful allergens in damp environments.
By keeping your unit free of debris, you enhance energy efficiency, reducing electricity consumption by up to 15% as the system operates without excess strain.
This maintenance also protects critical components like the fan motor, reducing wear and tear and extending the unit’s lifespan.
Performing an annual deep clean before the cooling season guarantees peak performance and helps avoid costly repairs caused by neglected buildup or mechanical failures.
It’s a simple step that can save you money and keep your home comfortable all summer long.
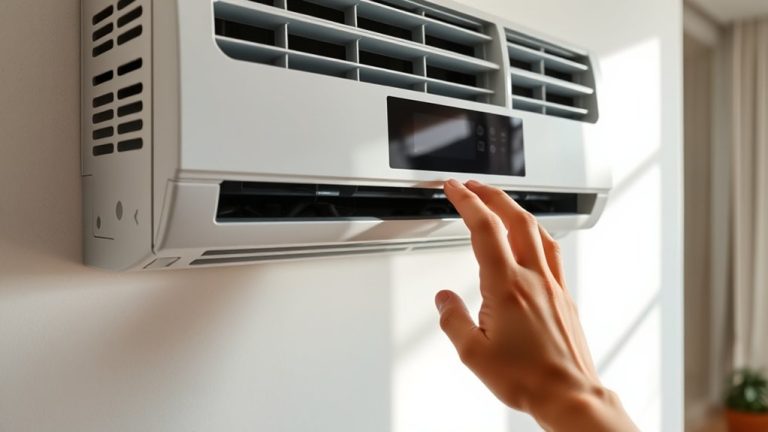
Turn Off Power and Prepare Your Workspace Safely
Before you begin cleaning your air conditioner, make certain to turn off the power completely by switching off the thermostat and disconnecting the circuit breaker. This step is vital to eliminate any risk of electric shock while working on the indoor unit.
Next, clear the area around the unit to guarantee a safe workspace. Remove obstacles and confirm the floor beneath the unit is dry and free of liquids to prevent slips.
Wear gloves and a mask to protect yourself from dust and debris released during cleaning. Organize your tools and keep them within reach to streamline the process and avoid accidents.
Taking these precautions will help ensure your system is serviced safely and efficiently while maintaining a hazard-free environment.
Remove and Inspect the Air Conditioner Filter
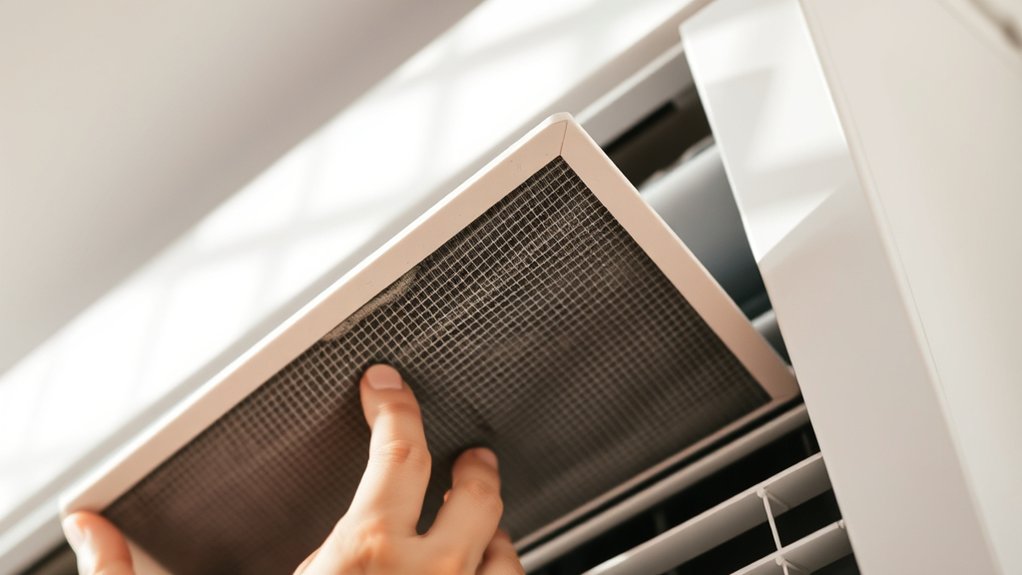
First, find the air filter behind the front grille of your indoor unit. Be sure to follow the manufacturer’s removal instructions carefully to avoid any damage.
Once you’ve taken it out, take a good look at the filter. Check for dirt buildup or any damage that might block airflow.
Knowing the filter’s condition will help you decide if it just needs a good cleaning or if it’s time to replace it to keep your air conditioner running efficiently.
Filter Location Identification
The air filter in your air conditioner is usually found behind the indoor unit’s front grille and may require a screwdriver for removal.
Proper filter location identification is crucial to clean your AC effectively and perform regular inspections.
To locate and inspect the filter:
- Power off the unit and remove the front grille using a screwdriver if necessary.
- Identify the air filter, typically a rectangular mesh panel situated directly behind the grille.
- Gently slide or lift the filter out of its slot without damaging it.
- Inspect the filter for dust buildup or damage before cleaning or replacing it.
Regular inspection and maintenance of the air filter guarantee peak airflow and system efficiency.
This helps prevent performance loss and keeps your indoor air quality in check.
Filter Condition Check
To properly maintain your air conditioner, remove the filter located behind the indoor unit’s front grille and inspect it thoroughly.
Conduct a filter condition check by examining for dust buildup, dirt, and damage. A clogged or torn filter reduces airflow and efficiency, so it’s crucial to clean or replace it as needed.
Wash washable filters with warm water and mild detergent, then let them air dry completely before reinserting. For non-washable filters, use a vacuum cleaner with a brush attachment to remove dust.
If the filter remains heavily soiled or damaged, replace it promptly.
Performing this air filter check every 1-3 months guarantees peak performance, improves air quality, and saves energy.
Regular filter checks are a key step when you clean your air conditioner indoor unit effectively. It really makes a difference!
Clean or Replace the Air Conditioner Filter
Maintain your air conditioner’s efficiency by cleaning or replacing its filter every 1 to 3 months. This step guarantees maximum airflow and reduces energy consumption in your indoor unit.
A clogged filter traps dust and restricts airflow, stressing the system and lowering performance.
Here’s how you can clean or replace the air conditioner filter:
- Remove the filter from the indoor unit carefully.
- For washable filters, rinse with warm water and mild detergent; then let it dry completely.
- Vacuum non-washable filters or replace them if they’re heavily soiled.
- Reinstall the filter securely to keep your indoor air quality healthy.
Doing this regularly helps prevent respiratory issues by filtering out dust and allergens.
Clean the Air Conditioner Evaporator Coil
To clean the evaporator coil effectively, start by removing the front panel.
Then, gently brush away any dust, being careful not to bend the fins. You want to keep those delicate parts intact.
Next, use a no-rinse coil cleaner made specifically for AC units. This helps break down grime without harming the coil.
Taking these steps ensures you avoid damage and keep the heat exchange working efficiently.
It’s a simple process that really makes a difference!
Coil Cleaning Techniques
Start by switching off the power to your air conditioner at the circuit breaker to guarantee safety before cleaning the evaporator coil.
Follow these coil cleaning techniques to maintain efficiency and prolong your unit’s life:
- Use a soft brush to gently remove surface dust and debris from the evaporator coil fins.
- Apply a no-rinse coil cleaner for light grime; it dissolves buildup without damaging components.
- For heavy dirt, utilize a specialized coil cleaner designed to penetrate and break down stubborn deposits.
- Clear any obstructions around the coil to guarantee peak airflow and system performance after cleaning.
Regular cleaning of the evaporator coil with appropriate tools improves heat exchange efficiency and reduces strain on your air conditioner’s components.
Keeping up with this simple maintenance can really help your AC run smoothly and last longer.
Preventing Coil Damage
Protecting your evaporator coil from damage is essential for preserving your air conditioner’s efficiency and longevity.
When cleaning, always use a soft brush or a no-rinse coil cleaner to gently remove dust and grime. Avoid harsh chemicals and high-pressure washers, as they can bend the delicate fins, reducing airflow and efficiency.
You should use a mild detergent if necessary, making sure it’s safe for filters and coils. Regularly inspect the coil for mold or mildew, which can harm indoor air quality and might need professional remediation.
To keep your system performing at its best, schedule a deep clean of the evaporator coil at least once a year. This routine helps preserve the unit’s heat exchange efficiency, improving energy savings by up to 30% and extending the system’s lifespan.
It’s definitely worth the effort!
Clear and Clean the Condensate Drain Line
Anyone maintaining an air conditioner must clear and clean the condensate drain line regularly to guarantee proper moisture removal and prevent water buildup.
Regularly clearing the condensate drain line ensures effective moisture removal and prevents water damage.
This essential maintenance step helps avoid leaks and supports good indoor air quality by preventing mold growth.
Follow these steps to clear the condensate drain line effectively:
- Mix equal parts water and vinegar; pour the solution down the drain line to disinfect and dissolve blockages.
- Use a wet/dry vacuum to suction out debris or clogs from the drain line thoroughly.
- Inspect the drain line for leaks or damage during each cleaning session.
- Schedule regular maintenance checks to ensure continuous, efficient moisture removal.
Consistent cleaning preserves your unit’s function and safeguards your indoor environment.
It’s a simple task that makes a big difference!
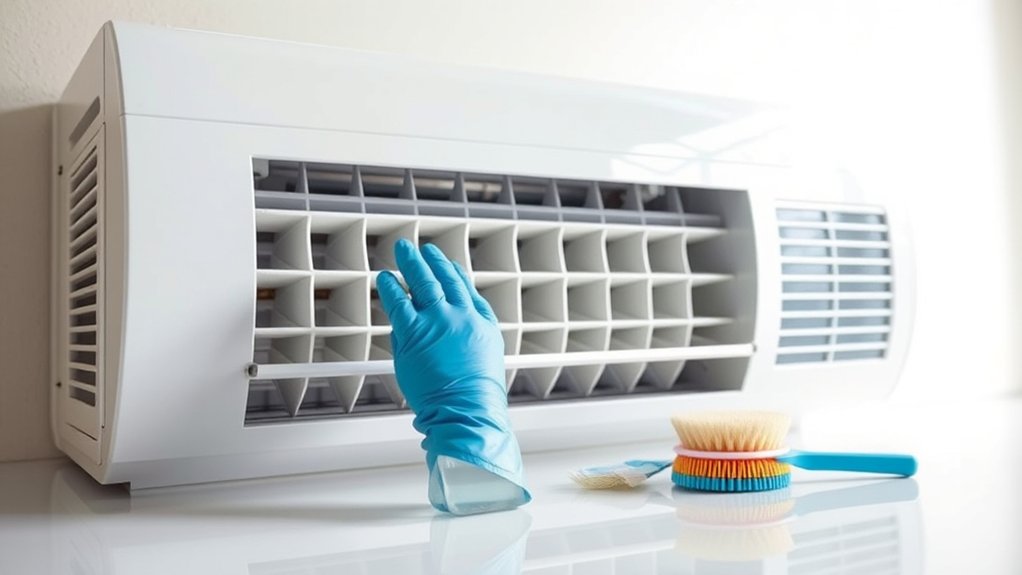
Wipe Down the Exterior Casing
You’ll want to grab a damp cloth and some mild soap to clean the exterior casing without causing any damage.
Just gently wipe down the surface, paying special attention to the air intake and exhaust areas to keep the airflow smooth.
Try to avoid using harsh chemicals or anything abrasive, as these can mess with the unit’s finish and efficiency.
A little care goes a long way in keeping your unit looking good and working well!
Cleaning Materials Needed
Two essential cleaning materials you’ll need to wipe down your air conditioner’s exterior casing are a damp cloth or sponge and mild soap. These help remove dust and grime without damaging the surface.
Also, make sure all cleaning materials are non-toxic to keep your indoor environment safe. For thorough cleaning, consider these items:
- Soft brush to gently dislodge dirt in crevices without scratching.
- Damp cloth or sponge for effective wiping with mild soap.
- Vinegar-water solution as a non-toxic alternative to cut through stubborn stains.
- Dry microfiber cloth to thoroughly dry the casing and prevent moisture buildup.
Avoid abrasive cleaners or scrubbers because they can scratch the casing and reduce the unit’s lifespan.
Using proper, gentle cleaning materials guarantees effective maintenance without harm.
Proper Wiping Technique
Begin by using a damp cloth with mild soap to gently wipe down the exterior casing. Take care to avoid abrasive materials that could scratch the surface.
Employ the proper wiping technique by starting at the top of the unit and working downward. This helps prevent dust and debris from falling onto cleaned areas.
Use a soft brush to reach corners and crevices where dust tends to accumulate. This guarantees thorough removal.
Regular cleaning of the exterior casing is essential not only for maintaining the unit’s appearance but also for preventing dust infiltration. Dust can impair air quality, so it’s important to stay on top of it.
Always make certain the unit is powered off before cleaning to avoid electrical hazards.
Following these steps assures an effective, safe cleaning process that prolongs your air conditioner’s performance. It really pays off in the long run!
Gently Brush the Indoor Cooling Fins
Gently brushing the indoor cooling fins removes dust and debris that can restrict airflow and reduce efficiency. To maintain peak airflow, use a soft brush to gently remove buildup without bending the delicate fins.
Follow these steps:
- Choose a dry, soft brush designed for electronics or delicate surfaces.
- Turn off the air conditioner and unplug it before starting.
- Carefully brush along the direction of the fins to avoid damage.
- Schedule regular cleaning every 1-3 months to prevent strain on the system.
Regularly cleaning the indoor cooling fins guarantees your air conditioner runs efficiently, reduces energy consumption, and extends unit lifespan.
Avoid moisture during brushing to prevent mold growth, and handle fins delicately for best results.
It’s simple but really makes a difference. Just be gentle, and your AC will thank you!
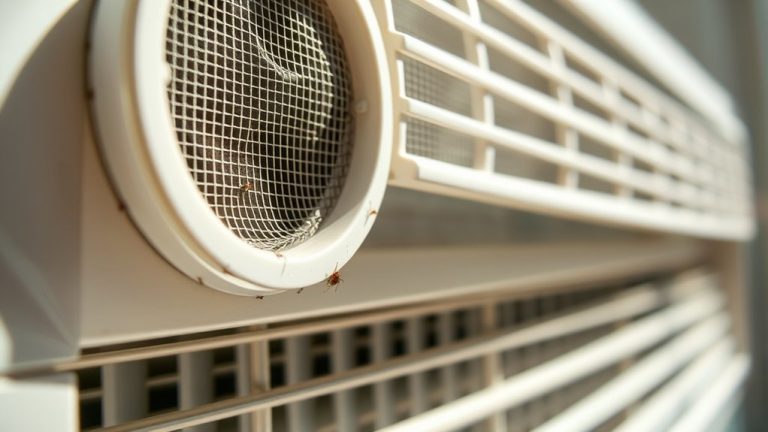
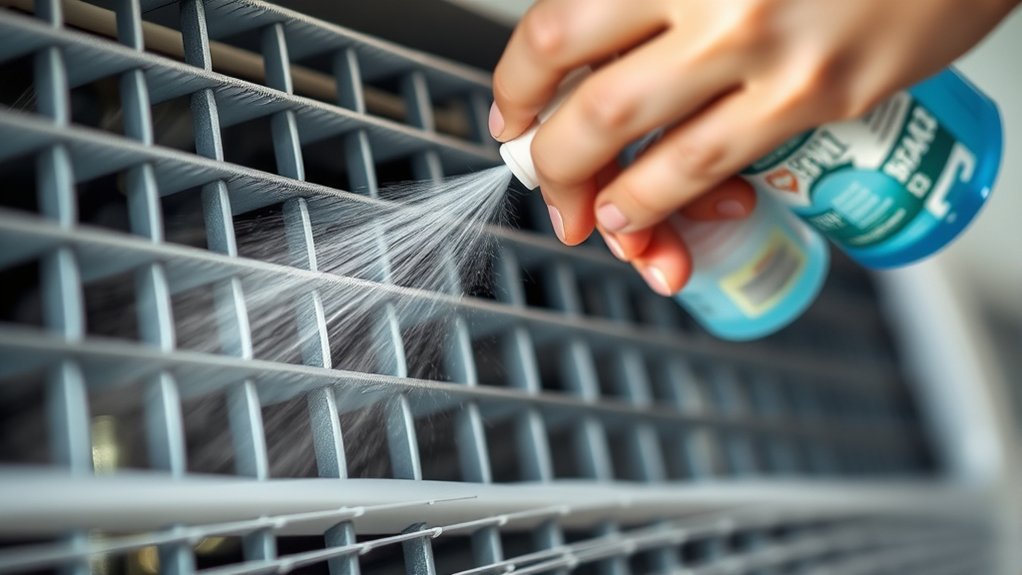
Clean the Louvers and Air Vents
Cleaning the louvers and air vents every 1-2 months helps maintain ideal airflow and prevents dust buildup that can degrade air quality and reduce system efficiency.
To clean the louvers and air vents, use a damp cloth to gently wipe away dust and debris, guaranteeing optimal airflow. If grime persists, apply a mild soap solution to break down grease without damaging surfaces.
Avoid harsh chemicals or abrasive materials, as they can scratch or corrode the components.
Furthermore, regularly clean these parts to prevent clogging and maintain proper air circulation. Make sure vents remain unobstructed by furniture or other items, which can restrict airflow and reduce system performance.
Consistent maintenance of louvers and vents supports efficient operation and better indoor air quality.
Keeping up with this simple routine really makes a difference in how well your system works and how fresh your indoor air feels.
Reassemble the Unit and Test Operation
Carefully reattach all panels and covers to the indoor unit, making sure every screw is securely tightened to prevent air leaks.
When you reassemble the unit, follow these steps:
- Verify the air filter is correctly positioned to keep airflow ideal and the system running efficiently.
- Reconnect the power supply and reset the circuit breaker to get electricity back to the unit.
- Turn on the air conditioner to test it out, and listen closely for any unusual noises or vibrations.
- Keep an eye on the airflow and temperature coming from the vents to make sure everything’s working properly.
Frequently Asked Questions
How Often Should I Schedule Professional Air Conditioner Maintenance?
You should schedule professional air conditioner annual maintenance at least once a year to keep your system running efficiently.
If you use your AC heavily or have pets, increase the cleaning frequency.
While DIY tips help with minor upkeep, only certified technicians with proper qualifications can perform a thorough maintenance checklist.
Regular professional visits prevent issues and guarantee peak performance, so don’t skip these essential annual checkups.
It’s really worth it to stay on top of this to avoid bigger problems down the road.
Can I Use Household Cleaners on Air Conditioner Components?
Picture delicate fins and coils shimmering inside your AC. You shouldn’t use harsh household cleaner types like bleach or ammonia on these AC component materials.
Instead, stick to safe cleaning practices with mild soap, water, or specialized coil cleaners.
For DIY cleaning techniques, vinegar works well on the condensate drain line.
Always choose effective cleaning solutions that protect your unit’s integrity.
And don’t forget to check manufacturer guidelines to verify compatibility before applying any cleaner.
What Safety Gear Is Recommended During Cleaning?
You should wear protective gloves to shield your hands from dust and chemicals, safety goggles to protect your eyes from debris, and a face mask to prevent inhaling dust or mold spores.
Wearing a work apron helps keep your clothes clean and adds an extra barrier against allergens.
Slip-resistant shoes are essential to maintain stable footing and avoid accidents while working. Using this gear guarantees your safety and comfort during cleaning.
It might seem like a lot, but once you get used to it, wearing safety gear becomes second nature.
Plus, staying protected means you can focus on the job without worries.
How Do I Know if My Air Conditioner Filter Needs Replacement?
If your air conditioner filter looks like a dust monster ready to attack, it’s a clear sign you need a replacement. Poor air quality, reduced airflow, and soaring energy bills are all signals that your filters might be clogged.
Regular seasonal checks help keep your system running at peak energy efficiency. It’s a good idea to inspect your filters every 1 to 3 months.
You might want to check even more often if you have pets or allergies. Doing this helps guarantee your system runs smoothly and keeps your indoor air clean and healthy.
Are There Signs of Mold I Should Watch for Inside the Unit?
You should watch for visible mold growth, like dark spots or fuzzy patches inside the unit, especially near the evaporator coil and drain pan.
High moisture levels and standing water signal potential mold issues.
If you notice musty odors or worsening air quality with symptoms of mold such as increased allergies or respiratory problems, act fast.
Regularly monitor moisture levels and implement preventative measures to keep mold growth under control.
This will help maintain healthy air quality and keep your unit running smoothly.
Conclusion
By following these 10 steps to clean your air conditioner indoor unit, you not only improve its efficiency but also extend its lifespan. This means you’re protecting your comfort and savings at the same time. Regular maintenance helps prevent costly breakdowns and ensures clean, healthy air circulation.
Taking the time to clean your unit today means you’ll enjoy a cooler, more reliable system tomorrow. So, don’t wait. Your air conditioner’s performance and your well-being depend on it.