7 Easy Steps to Clean a Window Air Conditioner Without Removing It
To clean your window AC without removing it, start by turning off and unplugging the unit to guarantee safety. Remove and wash the air filter with warm, soapy water, then let it dry. Vacuum and wipe the front grill to clear dust.
Gently clean the evaporator and condenser coils using a brush or coil cleaner. Sanitize the drip tray and clean fan blades for smooth operation. Reinstall parts and test the unit for proper cooling.
Keep going to discover detailed tips for ideal maintenance. It’s easier than you think, and your AC will thank you for it!
First, Turn Off and Unplug Your Window AC for Safety
Before you begin cleaning your window air conditioner, make sure to turn off and unplug the unit completely to avoid any risk of electrical shock.
Start by unplugging the unit from the power outlet or turning off the circuit breaker that supplies electricity to the window AC unit. This step ensures the unit is fully powered off and helps prevent electrical hazards during maintenance.
Begin by unplugging the unit or switching off the circuit breaker to ensure safety during maintenance.
After disconnecting power, wait at least 30 minutes to let the unit cool down. This reduces the risk of burns.
It’s also a good idea to wear appropriate safety gear like gloves and goggles to protect yourself from dust and debris while cleaning your window AC.
Following these precautions helps create a safe environment and keeps your AC unit in good shape while you clean it efficiently.
Taking these simple steps makes the whole process easier and safer.
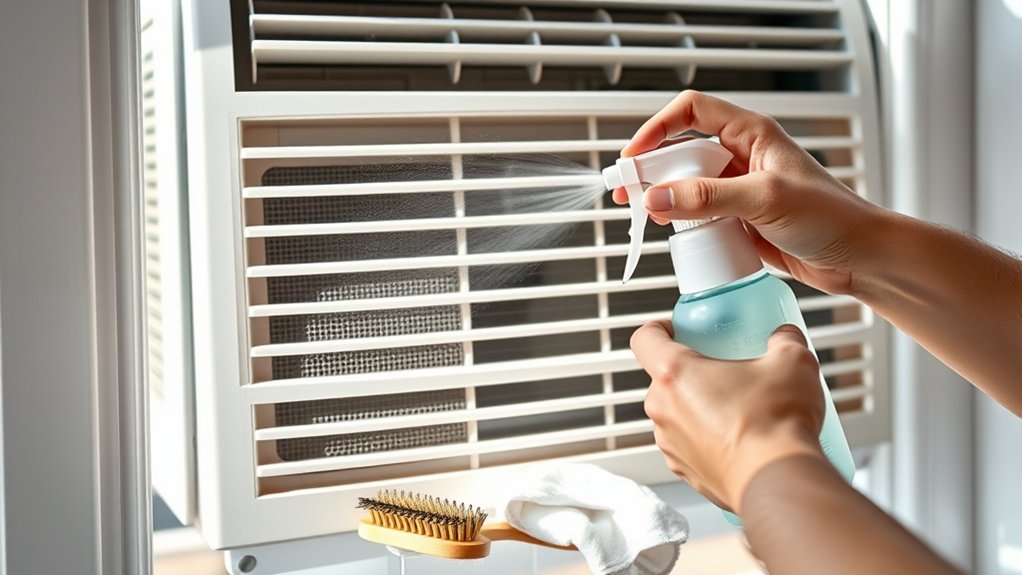
Remove and Thoroughly Clean the Window AC Air Filter
First, take off the front cover so you can get to the air filter inside your window AC unit.
Next, gently pull out the filter.
Once you have it out, wash it with warm, soapy water to get rid of dust and debris.
Make sure to rinse it well, so there’s no soap left behind.
After that, let the filter air dry completely before putting it back in.
This helps prevent mold and keeps your AC running at its best.
Filter Removal Process
One vital step in maintaining your window air conditioner is removing the air filter carefully to confirm effective cleaning.
Begin the filter removal process by locating the air filter behind the front cover; you may need to detach this cover if it’s secured. Gently pull the filter out, avoiding any bending or damage.
Once removed, wash the air filter in warm soapy water, scrubbing lightly to dislodge dirt and debris.
After washing, rinse the filter thoroughly to remove all soap residue. Allow the filter to air dry completely before reinstalling it into the unit.
Make sure the filter fits snugly to maintain peak airflow and efficiency.
Proper execution of the filter removal process is essential for preserving your window AC’s performance and longevity.
Just take your time with each step, and your AC will thank you!
Cleaning And Drying
Remove the air filter from the front of your window AC unit at least once a month during the cooling season to guarantee peak performance.
To clean a window air conditioner without removing the entire unit, focus on cleaning the filter thoroughly. Rinse off dust and debris with a solution of equal parts warm water and mild detergent.
Gently scrub the filter to dislodge trapped particles. After rinsing, let it dry completely before reinstalling. Moisture can promote mold growth and reduce airflow efficiency.
Regularly clean the filter to maintain maximum cooling efficiency and indoor air quality. If you notice damage or persistent dirt beyond cleaning, replace the filter to make sure your unit functions effectively.
Cleaning your window air conditioner regularly helps reduce energy consumption and prolongs the unit’s lifespan.
Vacuum and Wipe the Front Grill to Clear Dust and Debris
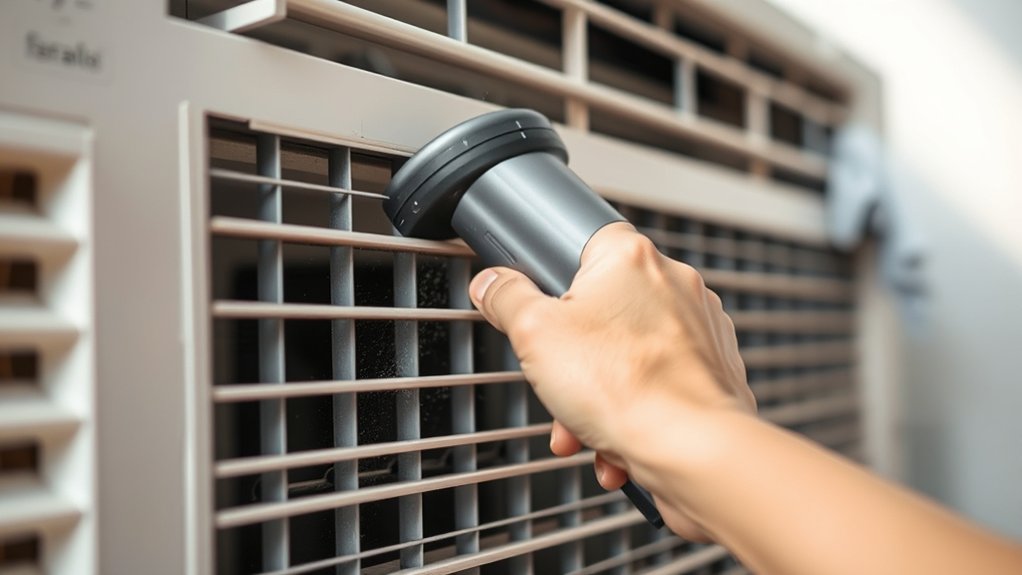
Turn off your window air conditioner to confirm safety before cleaning the front grill.
Use a vacuum with a brush attachment to carefully remove dust and debris from the grill’s surface and crevices. This prevents buildup that can obstruct airflow and degrade indoor air quality.
If dirt remains, dampen a soft cloth with a mild detergent solution and gently wipe the grill, avoiding excess moisture to prevent damage.
Regular cleaning of the front grill maintains ideal airflow, directly impacting your unit’s cooling performance and efficiency.
While cleaning, inspect the grill for any blockages or damage that could impair function.
Keeping the front grill free of dust and debris confirms your air conditioner operates reliably and contributes to healthier indoor air.
It’s a simple step that really makes a difference.
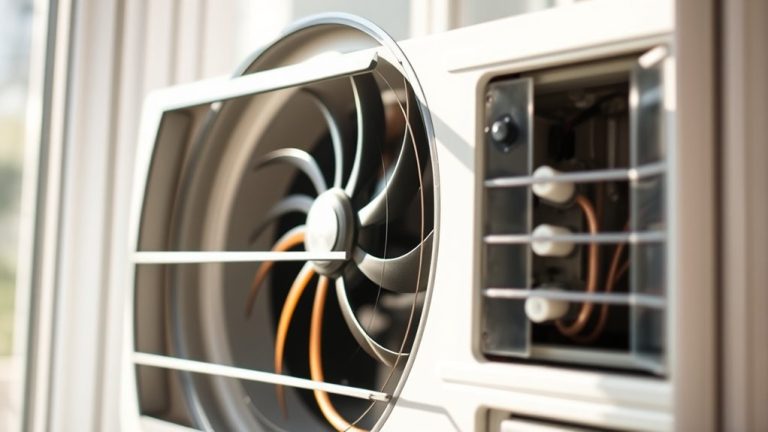
Carefully Clean Evaporator and Condenser Coils to Boost Efficiency
After clearing the front grill, focus on the evaporator and condenser coils, as they play an essential role in your air conditioner’s cooling cycle. The evaporator coils absorb heat from indoor air, while the condenser coils release it outside.
To clean the coils effectively, use a soft brush or a vacuum with a brush attachment to gently remove dust and debris without bending the delicate fins. Applying a coil-specific cleaning solution helps dissolve grime safely, avoiding corrosion risks.
Make sure the coils dry completely after cleaning to prevent mold growth, which can impair air quality and unit performance.
You’ll want to regularly clean your window air conditioner unit’s coils to enhance efficiency by up to 30%. This can greatly reduce energy consumption and keep your unit running at peak cooling performance.
It’s a simple step that really pays off!
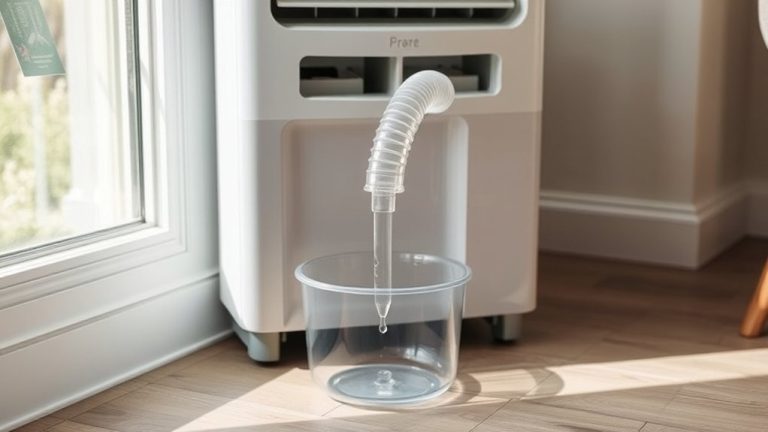
Clear and Sanitize the Drip Tray and Drainage Area to Prevent Mold
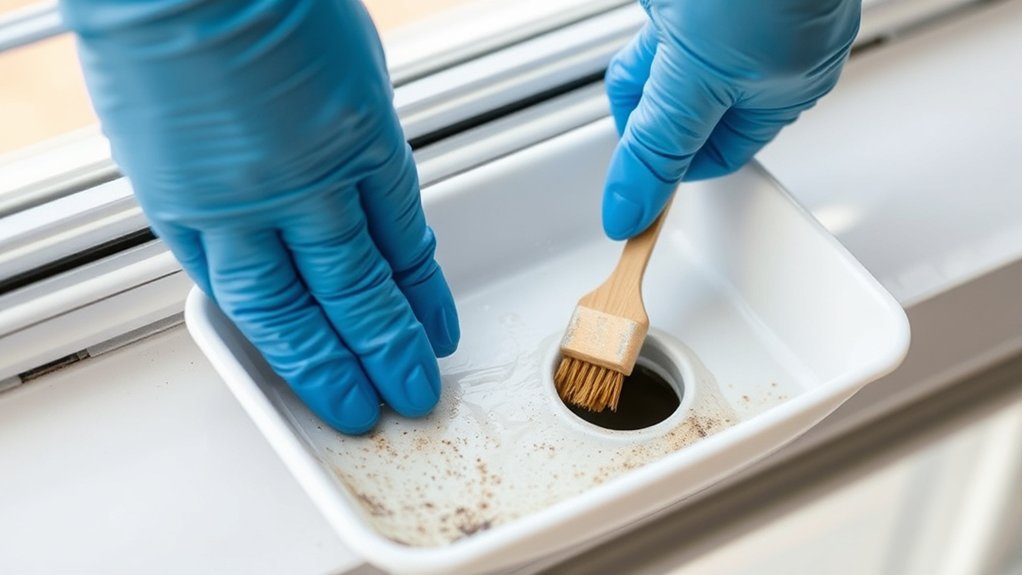
Regularly inspect the drip tray for standing water to prevent mold growth and unpleasant odors. Standing water in the drip tray creates an ideal environment for mold development. This can compromise air quality.
Check your drip tray often for standing water to stop mold and keep the air fresh and healthy.
To clean, remove debris and wash the drip tray thoroughly with warm soapy water at least once a month.
Next, check the drainage area for blockages to guarantee proper water flow and avoid moisture-related issues.
Use a solution of vinegar and water to sanitize both the drip tray and drainage area. This effectively kills mold spores and bacteria.
After cleaning and sanitizing, allow the drip tray to dry completely before reassembling.
These steps help prevent mold growth and keep your air conditioner running efficiently and hygienically. It’s a simple routine that really makes a difference!
Gently Clean Fan Blades and Motor Housing for Smooth Operation
Maintaining the cleanliness of the fan blades and motor housing directly supports the efficient drainage and mold prevention achieved by keeping the drip tray clear.
To clean a window AC, first disconnect power and remove the front cover to access the fan blades. Use a soft brush or vacuum to gently eliminate dust and debris from the blades and motor housing. This helps preserve airflow efficiency and reduces noise.
Wipe the blades with a damp cloth, making sure it’s only slightly moist so moisture doesn’t get into the motor housing.
Take a close look at the motor housing because dust buildup can impair performance and cause overheating. Regular cleaning of these parts prevents mold growth and keeps your AC running at its best.
Always let all parts dry completely before putting everything back together. This step is important to keep your system working smoothly and to maintain its integrity.
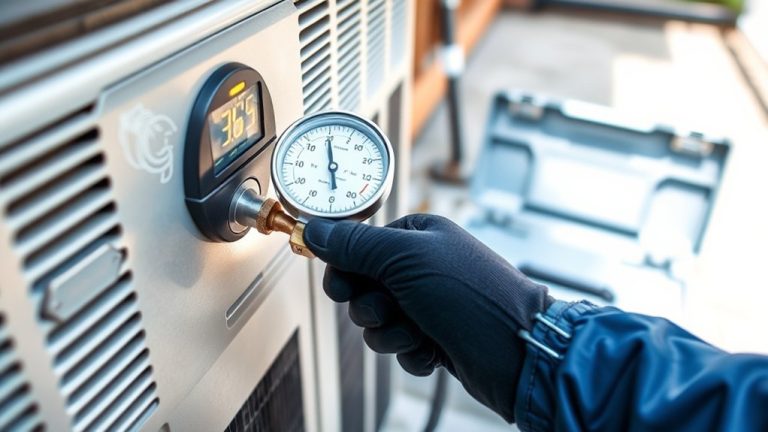
Reinstall Parts and Test Your Window AC for Proper Cooling
Carefully reinstall the front cover and secure the air filter to guarantee maximum airflow through your window air conditioner.
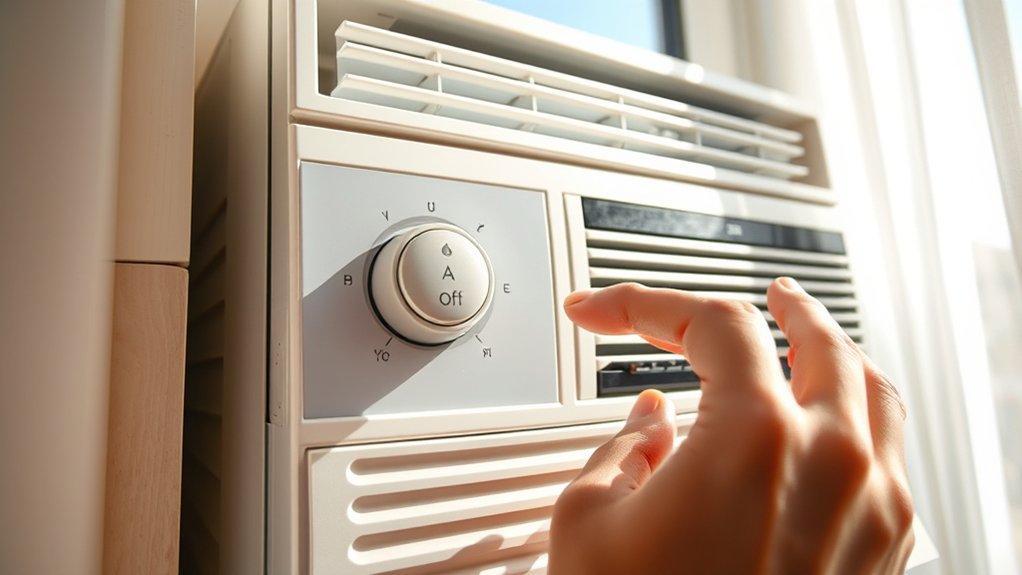
After you reinstall parts, plug in the unit or switch on the circuit breaker to restore power. Set the thermostat to a low temperature to test your window AC for proper cooling.
Monitor the air coming from the unit. It should feel consistently cool, confirming you’ve effectively cleaned the entire system.
Listen closely for unusual sounds that could signal fan or motor issues requiring further attention.
If the airflow is weak or warm, recheck the air filter placement and cleanliness.
This systematic approach guarantees your window AC operates efficiently, prolongs its lifespan, and maintains peak cooling performance without needing a full removal or deep disassembly.
Frequently Asked Questions
How Often Should I Clean My Window Air Conditioner?
You should follow a cleaning schedule that includes monthly checks of filter types during heavy use to maintain air quality and energy efficiency.
Seasonal preparation means deep cleaning at least once per season to prevent common issues like dust buildup and mold.
Regular DIY solutions enhance performance boost and extend unit life.
Incorporate maintenance tips such as inspecting and cleaning filters, coils, and vents to keep your window air conditioner running efficiently year-round.
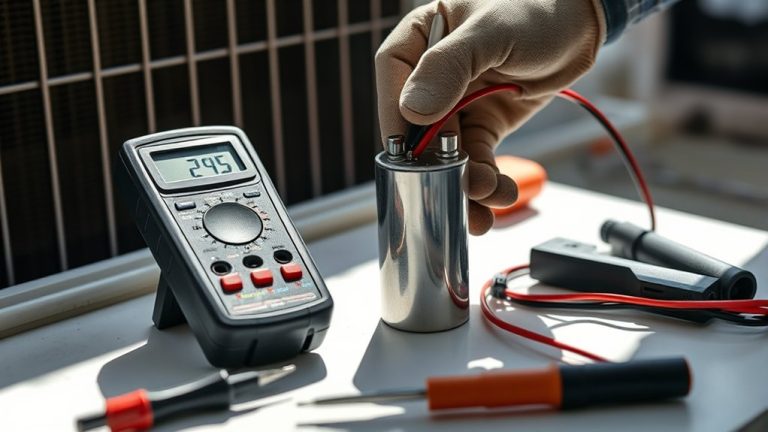
Can I Use Household Cleaners on My AC Coils?
Yes, you can use household cleaners on your AC coils, but it’s best to choose mild cleaning products. This helps avoid any harmful chemical reactions that could damage the coil materials.
For effective AC coil maintenance, make sure to dilute cleaners properly and always follow safety precautions. Regular coil cleaning at the recommended intervals really helps boost efficiency.
DIY solutions and home remedies can work well too, as long as you apply them carefully and rinse thoroughly afterward.
And don’t forget to keep good ventilation going while you clean—this protects you and helps your unit perform at its best.
What if My Air Conditioner Leaks Water After Cleaning?
If your air conditioner leaks water after cleaning, check for common causes like clogged drain lines or improperly seated drip trays.
Look closely for signs of damage, such as bent fins or worn seals, since these can make condensation problems worse.
Try clearing any blockages and repositioning parts as part of your troubleshooting.
Keeping up with regular maintenance can really help prevent leaks from happening in the first place.
Be sure to follow safety precautions when doing any DIY repairs on your unit.
But if the leaks keep coming back despite your efforts and regular upkeep, it’s a good idea to call in a professional for help.
How Do I Know if My AC Filter Needs Replacement?
You’ll know your AC filter needs replacement if you spot significant dust buildup or discoloration on filter materials like fiberglass or pleated types.
Symptoms that suggest replacement include reduced airflow and decreased cooling performance.
It’s a good idea to check your filters regularly, especially during heavy use seasons.
Monthly inspections can help catch problems early.
Cleaning frequency varies by filter type, but typically replacing your filter every 1-3 months guarantees maximum efficiency.
This also helps prevent energy waste and keeps your system running smoothly.
Is It Safe to Clean the AC During Allergy Season?
Don’t let the grass grow under your feet. Yes, it’s safe to clean your AC during allergy season if you follow proper HVAC maintenance.
Regular cleaning improves filter effectiveness and helps reduce indoor allergens like dust mites and mold growth.
Timely cleaning also lowers pollen levels and allergy symptoms by enhancing air quality.
Just wear a mask, make sure there’s good ventilation, and avoid peak pollen times to minimize exposure.
This proactive approach keeps your environment healthier and allergy-friendly.
Conclusion
By following these seven precise steps, you’ll breathe new life into your window AC, ensuring it hums like a well-oiled machine. Think of cleaning it as tuning a delicate instrument. Each coil and filter plays an essential role in delivering cool, efficient air.
With consistent care, your unit will run smoothly, warding off dust and mold like a shield. Keep it sharp, and enjoy crisp, invigorating comfort all season long.