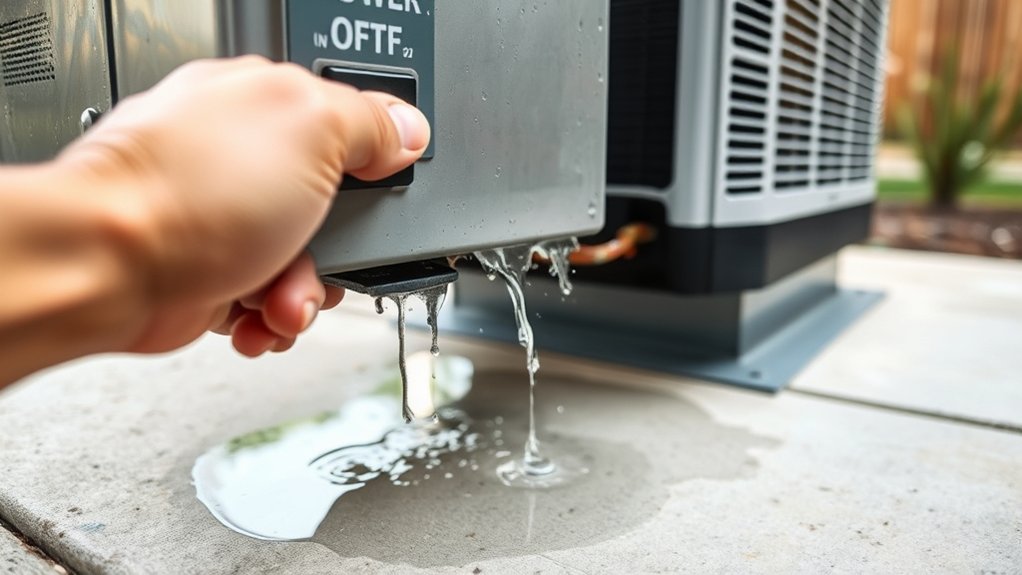
How to Fix an Air Conditioner Leaking Water Outside
If your air conditioner is leaking water outside, first turn off the unit and power to avoid damage. Check for a clogged condensate drain line and clear it using a vacuum and vinegar flush. Inspect the drain pan for cracks or misalignment, and replace if needed.
Make sure the unit is level and that airflow isn’t obstructed to prevent frozen coils. Managing indoor humidity also helps reduce leaks. If you keep having problems or the fix seems complicated, getting deeper guidance can really improve your AC’s performance.
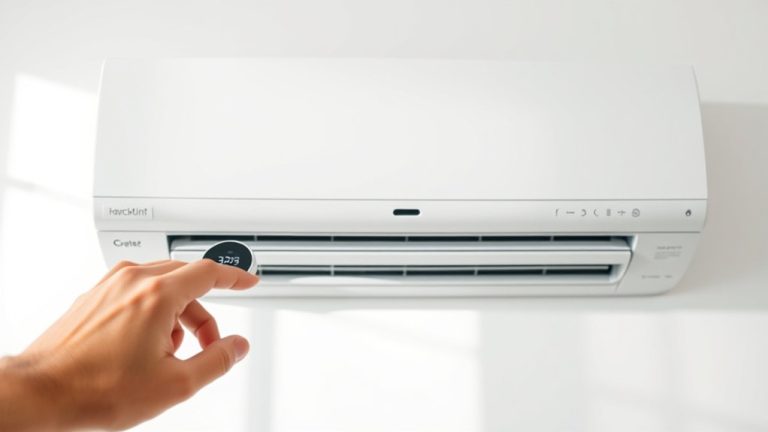
Turn Off Your AC Safely When It Leaks
Before you do anything else, turn off your AC safely to prevent electrical hazards and further damage. When your AC unit is leaking, start by switching off the thermostat to stop cooling operations, then immediately turn off the circuit breaker. This guarantees the unit completely shuts down, minimizing risks.
Check for leaking water inside or pooling around the unit to assess severity. Running the system with a dirty air filter or clogged drain lines can worsen leaks, so avoid using the AC until resolved.
Inspect the condensate drain line for blockages, as these often cause leaks. Document your observations and schedule regular maintenance with an HVAC professional to prevent future issues.
Proper shutdown and timely professional intervention protect your system and home.
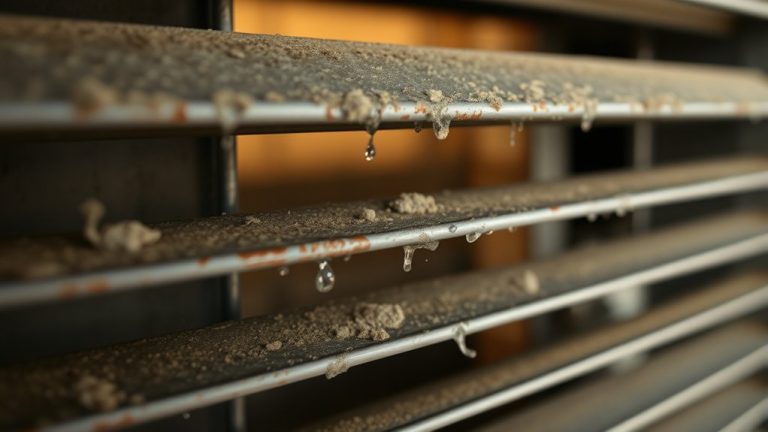
Identify and Clear a Clogged Condensate Drain Line
If you notice water pooling near your indoor unit or dripping outside from the drain line, it’s probably because a clog is blocking the proper flow of condensate.
To clear it, start by using a wet/dry vacuum to suck out any debris. After that, try flushing the line with a vinegar and water solution—this helps prevent future buildup.
It’s also a good idea to install a clean-out access point. This makes future maintenance easier and keeps your system draining smoothly.
Signs of Clog
How can you tell if your air conditioner’s condensate drain line is clogged? Key indicators include an AC unit leaking water outside or inside. You might also notice water leaks from the indoor unit and a musty smell caused by stagnant water.
You’ll probably see increased humidity levels indoors too. These signs usually point to a clogged condensate line that’s blocking moisture drainage. Regular maintenance helps prevent these issues, but if problems keep happening, it’s best to get a professional technician to check it out.
| Sign | Cause | Impact |
|---|---|---|
| Water leaks (outdoor) | Blocked condensate line | Water pooling around unit |
| Water leaks (indoor) | Drain line clog | Damage to indoor components |
| Musty smell | Stagnant water buildup | Poor indoor air quality |
| Increased humidity | Inefficient drainage | Discomfort, mold growth |
| Persistent clog | Severe blockage | Requires professional help |
Clearing Drain Line
Recognizing the signs of a clogged condensate drain line is only the first step. Clearing it effectively restores your air conditioner’s proper function and prevents water damage.
Start by locating the drain line access point near the indoor unit. Use a wet/dry vacuum to suction out the blockage caused by mold, mildew, or debris.
After suctioning, flush the line with a vinegar and water solution to maintain efficient drainage and prevent future clogs.
Installing a clean-out access point simplifies ongoing maintenance. Commit to regular inspection and cleaning of the drain line to guarantee it remains clear and functional.
These actions will safeguard your system from leaks and prolong your AC’s performance by maintaining proper condensate flow.
How to Check and Fix a Damaged Drain Pan
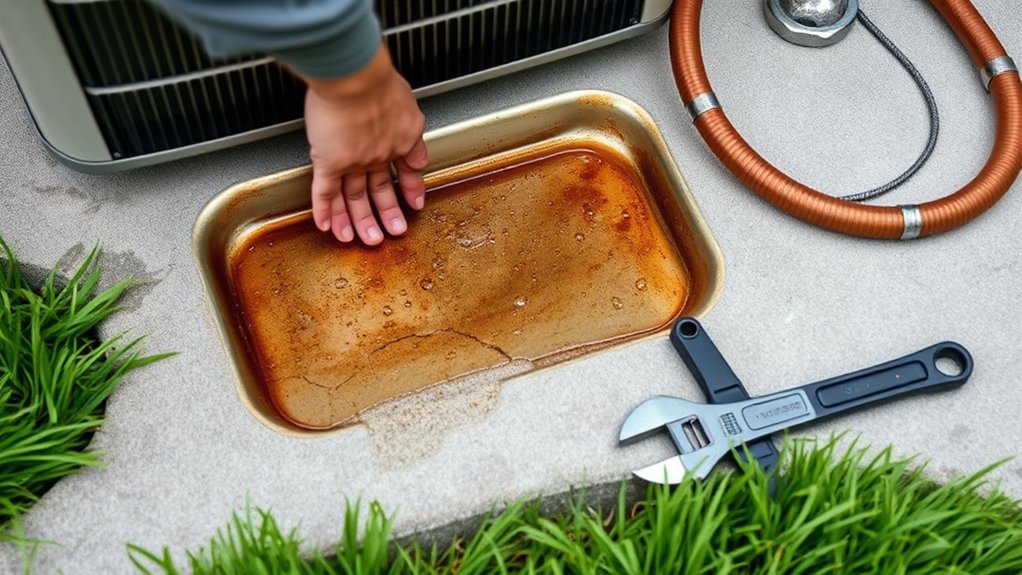
Start by thoroughly inspecting the drain pan for any visible cracks, rust, or corrosion that can cause water to leak around your air conditioner.
To effectively check and fix a damaged drain pan, follow these steps:
- Inspect the drain pan carefully for cracks, rust spots, or warping that may lead to water leakage.
- Confirm the drain pan is properly positioned and level to prevent overflow and water damage.
- If you identify damage, replace the drain pan promptly to avoid further water leakage and protect your property.
Regular AC maintenance, including cleaning and routine inspection of the drain pan, helps prevent water damage and prolongs the lifespan of your system.
Don’t overlook small issues. Addressing a damaged drain early safeguards your air conditioner’s performance.
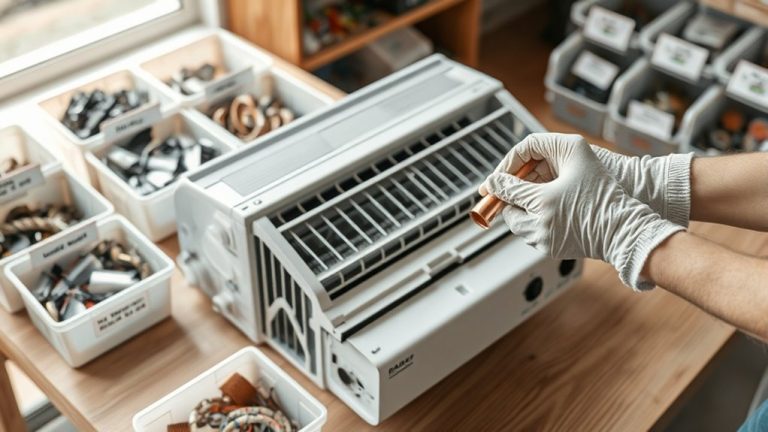
How to Thaw and Fix Frozen Evaporator Coils
After ensuring your drain pan is intact and functioning, the next step is to address frozen evaporator coils, a common cause of air conditioner leaks.
To thaw frozen coils, turn off your unit and let the ice melt naturally. This may take several hours.
Once thawed, check for airflow obstructions such as blocked vents or dirty ducts. Restricted airflow can cause freezing and contribute to leaks.
Low refrigerant levels also lead to frozen coils. If you suspect low refrigerant, contact an HVAC professional for diagnosis and repair.
To prevent future issues, schedule regular maintenance that includes coil cleaning and refrigerant level checks. Avoid dirty filters because they restrict airflow and promote freezing.
This helps protect your air conditioner from leaking and keeps your system running efficiently.
Clean or Replace Dirty Air Filters to Prevent Freezing
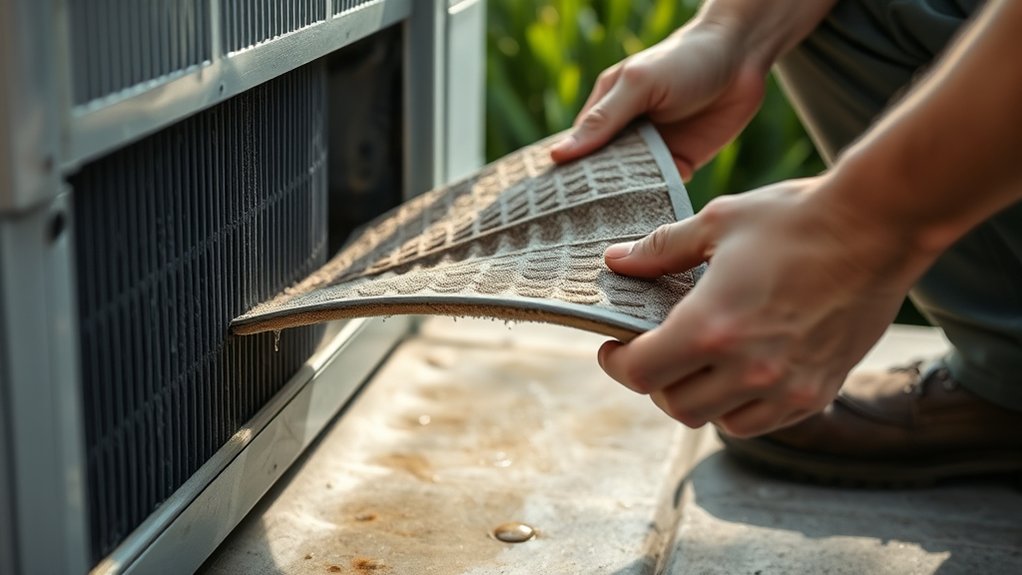
Because clogged air filters can reduce airflow by up to 80%, you need to clean or replace them every 1 to 3 months to prevent evaporator coil freezing.
Dirty air filters restrict airflow, causing evaporator coils to freeze and produce excess condensation, which leads to leaks outside.
To maintain peak performance and prevent freezing, inspect air filters monthly for dirt buildup. Clean reusable filters or replace disposable ones promptly.
You might also want to consider high-efficiency filters to reduce clog frequency and keep airflow steady.
Maintaining clean air filters not only prevents leaks but also boosts energy efficiency. This could potentially lower your cooling costs by up to 15%.
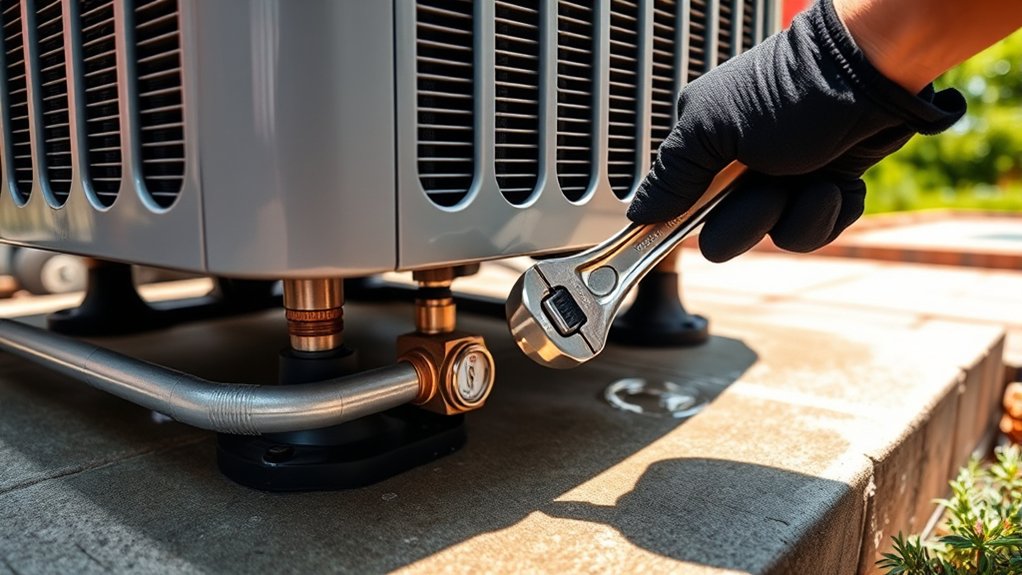
Fix Disconnected or Damaged Drain Lines
First, take a close look at the drain line to check for any cracks, disconnections, or blockages that might be stopping the water from flowing properly.
If you spot any damage, go ahead and replace those sections with new PVC piping. Make sure to securely reconnect any loose joints so everything stays tight.
Also, double-check that the line slopes downward, moving away from the unit. This helps ensure the water drains correctly and keeps leaks from happening down the road.
Identifying Drain Line Damage
How can you tell if your air conditioner’s drain line is causing leaks? Start by inspecting for visible signs of damage or improper drainage. These issues can lead to your air conditioner leaking water outside.
Focus on these key checks: Examine the drain line for cracks, rust, or disconnections that could cause leaks and water damage.
Also, verify the drain line’s slope to guarantee proper drainage away from the HVAC system. This helps prevent water pooling.
Look for clogs by observing slow drainage or water backups. You can use a wet/dry vacuum or flush the line with vinegar to clear any blockages.
Detecting drain line damage early helps you avoid extensive water damage.
Plus, it keeps your HVAC system running efficiently. Make sure to address any issues promptly to restore proper function and stop leaks from happening again.
Repairing Disconnected Drain Lines
When you notice water leaking near your air conditioner, carefully inspecting the drain line for disconnections is crucial. Start by turning off the AC to avoid electrical hazards.
Then, check the entire drain line for visible gaps, cracks, or loose fittings that might be causing the problem.
For repairing disconnected drain lines, securely reconnect the AC drain line using PVC cement or pipe clamps. This helps guarantee a tight seal and prevents future leaks.
Once you’ve reconnected the drain line, test for proper drainage by running the unit and watching the water flow. Make sure no leaks remain.
It’s also a good idea to incorporate regular maintenance by scheduling routine inspections. This way, you can detect and fix potential issues early.
Keeping up with this helps maintain peak drainage and stops leaks from coming back.
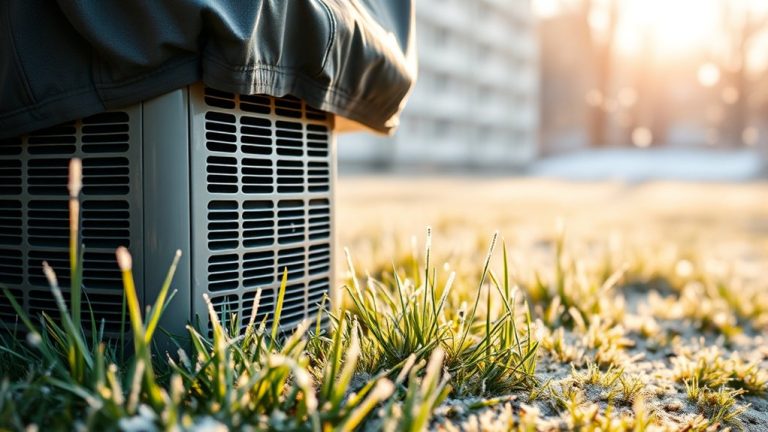
Level and Install Your AC Properly
Properly installing your air conditioner on a level surface is essential to prevent leaks caused by poor drainage. An uneven setup disrupts condensate flow, which leads to water leaks outside. To guarantee proper drainage and avoid issues, you need to pay attention to a few key steps.
First, use a carpenter’s level to confirm the unit is slightly tilted toward the drain side. Make sure to follow the manufacturer’s tilt angle guidelines for ideal condensate runoff. This small tilt makes a big difference in how water drains from your AC.
Next, secure all mounting brackets tightly. This helps maintain stability and prevents the unit from shifting, which could mess up the drainage. It’s important to keep everything firmly in place.
Finally, inspect the installation area regularly for debris or obstructions that might block drainage paths. If you spot anything, remove it promptly. Keeping the area clear ensures your AC drains properly and avoids leaks.
Manage Indoor Humidity to Reduce AC Water Leaks
To keep your AC from leaking, it’s important to manage indoor humidity. When the moisture in the air is too high, your AC can produce extra condensation that leads to leaks.
One easy way to handle this is by using a dehumidifier. It helps bring down the moisture levels and keeps the humidity in a comfortable range—around 30 to 50%.
Make sure to check your humidity levels regularly. If they start to creep up or drop too low, just tweak your dehumidifier settings to keep everything balanced.
This way, you’ll protect your system and stay comfortable all year round.
Control Indoor Humidity
Controlling indoor humidity within a 30% to 50% range plays a crucial role in minimizing condensation that leads to AC water leaks.
To control indoor humidity effectively and prevent costly damage, focus on these key steps:
First, monitor humidity levels regularly using a hygrometer. This helps guarantee proper indoor air balance so you can make timely adjustments.
Next, maintain clean air filters to improve airflow and prevent frozen coils.
Frozen coils often cause water buildup and leaks.
Finally, enhance home insulation to stabilize humidity. This also reduces stress on your AC system.
Taking these steps can keep your home comfortable and your AC running smoothly.
Use Dehumidifiers Effectively
Although air conditioners work hard to regulate temperature, adding a dehumidifier can greatly reduce indoor moisture levels. This eases the load on your AC system and helps minimize water leaks. Dehumidifiers keep indoor humidity between 30-50%, which effectively reduces moisture and prevents excessive condensation that causes leaks.
Placing dehumidifiers in high-humidity areas like basements or near windows is a smart move. Doing this captures excess moisture before it overwhelms your AC.
Plus, it helps prevent frozen evaporator coils, a common cause of water leaks.
Running a dehumidifier alongside your AC boosts overall comfort and lets your system maintain peak performance.
Just remember to regularly empty and maintain your dehumidifier’s tank. That way, it keeps reducing indoor humidity effectively and helps minimize water leaks from your air conditioner.
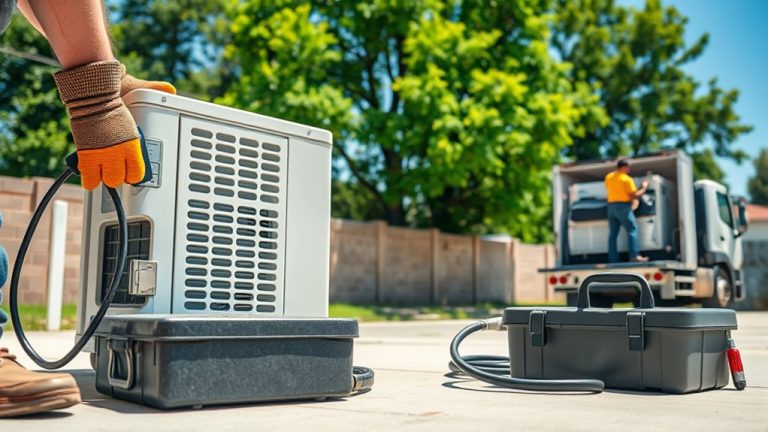
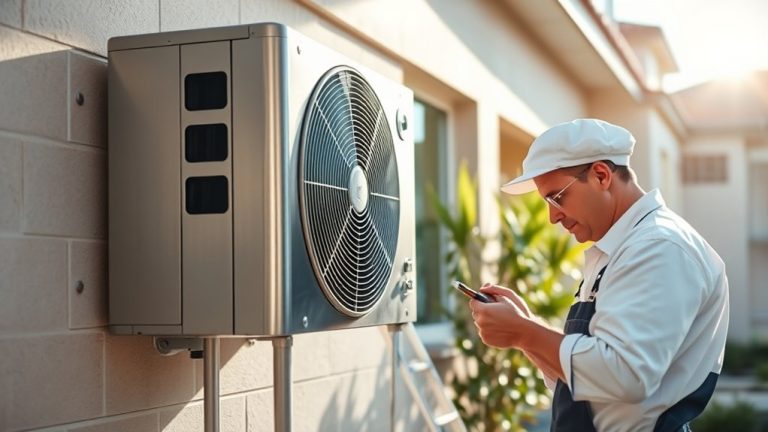
When to Call a Professional for AC Water Leak Repairs
When should you call a professional for AC water leak repairs? If your HVAC unit is leaking and the source isn’t obvious, it’s time to call a professional service provider for a detailed inspection.
Persistent leaks lasting over 24 hours also require expert attention to avoid escalating repair costs.
Consider these triggers:
- Low refrigerant levels suspected. Handling refrigerants needs certification and poses safety risks.
- Condensate drain line clog persists after DIY attempts. A technician can efficiently clear blockages.
- Unidentified leaks or recurring water accumulation around the unit. This requires specialized diagnostic tools.
Timely professional intervention guarantees precise repair, prevents damage, and maintains system efficiency.
Don’t delay service. Addressing leaks early minimizes costly breakdowns and extends your AC’s lifespan.
Prevent Future AC Water Leaks With Regular Maintenance
To prevent future AC water leaks, you need to prioritize regular maintenance tasks that address common causes like clogged drain lines and restricted airflow.
Change air filters every 1-3 months to maintain airflow and prevent frozen evaporator coils, a frequent source of leaks.
Inspect and clean the condensate drain line with vinegar every few months to remove mold and debris that cause water backup.
Schedule annual professional air conditioning maintenance to guarantee drain lines are clear and coils are clean, reducing clog and overflow risks.
Keep the area around your air conditioners free of debris to support proper drainage.
If your unit frequently overflows, consider installing a condensate pump to effectively manage excess water and prevent water leaks.
It’s a simple addition that can save you a lot of trouble later on.
Frequently Asked Questions
Can Using a Dehumidifier Reduce Water Leakage From My AC?
Yes, using a dehumidifier can reduce water leakage from your AC by improving condensation control through moisture reduction.
By maintaining indoor humidity between 30-50%, it helps your air conditioner work more efficiently and reduces strain on the system. This means fewer chances of leaks caused by excess moisture buildup.
Keeping humidity in check also supports your AC’s maintenance by preventing issues like frozen coils, which often lead to water leakage.
Plus, using a dehumidifier can save energy and extend the lifespan of your AC unit.
Does the Type of Refrigerant Affect AC Water Leakage?
Yes, refrigerant types do affect AC water leakage. Different refrigerant types change how much condensation forms and affect evaporator coil temperatures, which impacts moisture buildup.
You need to keep the refrigerant levels right and maintain the system regularly to avoid coil freezing or too much condensation.
Airflow problems and poor insulation can make leaks worse by overloading the drain lines. So, it’s important to check these parts often.
This helps your system handle refrigerant pressures well and stops water from leaking outside.
How Does Outdoor Temperature Impact AC Condensation?
Outdoor temperature directly affects the condensation process by influencing humidity levels and temperature fluctuations.
When it’s hot and humid, your AC produces more condensation, which can overwhelm drainage if airflow issues or poor insulation quality exist.
Proper refrigerant charge and outdoor unit placement help manage this.
Regular maintenance practices guarantee peak performance, preventing leaks caused by excess condensation due to temperature swings and high humidity in your environment.
Are There Specific AC Brands Less Prone to Leaking?
You’ll find brands like Trane and Carrier less prone to leaks because of their robust construction and high efficiency ratings.
Lennox stands out with advanced drainage technology, while Rheem uses durable materials that help minimize common leakage causes.
Goodman keeps things simple with designs that reduce potential leak points.
To make sure your AC lasts long, it’s important to follow maintenance tips, perform seasonal checks, and stick to proper installation guidelines.
Troubleshooting steps can also help catch problems early. Checking out user reviews is a smart way to find reliable models.
At the end of the day, regular upkeep is key no matter which brand you choose.
It’s the best way to prevent leaks and keep your AC running smoothly.
Can Installing a Rain Cover Prevent Outdoor Water Leakage?
Picture rainwater cascading off a sleek rain cover made from durable, weather-resistant materials. Yes, installing one can prevent outdoor water leakage by directing water away and keeping debris from clogging drainage solutions.
Just follow installation tips to guarantee a proper fit, which helps preserve your AC’s efficiency and airflow.
Also, consider your climate when choosing the right material.
Make sure to maintain the cover regularly to avoid common issues.
And don’t forget to check warranty details so your unit stays protected and performs at its best.
Conclusion
Just like a well-tuned engine keeps a racecar on track, maintaining your AC prevents leaks and costly damage.
By turning off your unit safely, clearing drain lines, fixing pans, thawing coils, and managing humidity, you’ll keep your system running smoothly. Remember, timely maintenance is your best defense.
When issues persist, don’t hesitate to call a professional. With these precise steps, you’ll master your AC’s performance and avoid water leaks outside.