10 Steps to Clean Mold From Your Window Air Conditioner
To clean mold from your window air conditioner, first unplug and prepare the unit, making sure it’s cool and protected. Soak the air filter in a vinegar-water mix. Then clean the front panel, grille, and mold spots with a mild detergent and vinegar solution.
Scrub tight spaces gently and clear out the drain pan and lines. Don’t forget to disinfect those areas to keep mold from coming back. Clean the fan blades carefully too.
Once everything is clean, run the fan to dry everything thoroughly before you put the unit back together. Following these steps helps prevent mold regrowth and keeps your air conditioner running smoothly. If you want more detailed guidance, feel free to explore further.
Turn Off and Prepare Your Window AC
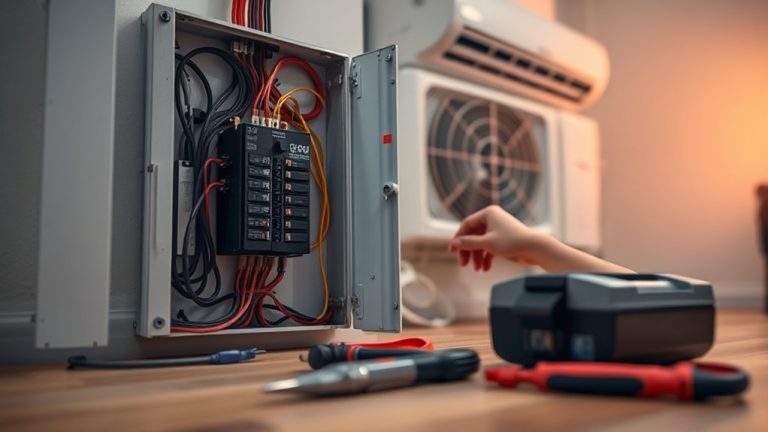
Before you begin cleaning mold from your window air conditioner, always turn off and unplug the unit to prevent electrical shock. This step is essential for safety when working with window air conditioners. If the unit has been running, let it cool for at least 30 minutes to avoid burns or injury.
Next, prepare a well-ventilated area to reduce exposure to mold spores during cleaning. Protect electrical components by covering them with plastic to prevent moisture damage.
Ensure good ventilation and cover electrical parts with plastic to minimize mold spore exposure and moisture damage.
Gather necessary supplies, including a soft brush and mild detergent, before you start taking the unit apart.
Make sure to check the manufacturer’s manual for specific instructions on how to access mold-prone areas like cooling coils and the drain pan. Following these precautions will help guarantee a safe and effective cleaning process.
Soak the Air Filter in Vinegar
You should soak the air filter in a solution made of equal parts white vinegar and water for about 10 to 15 minutes.
This helps to effectively kill mold spores and bacteria. The acidity in vinegar disrupts microbial growth, so it works as a natural and safe cleaning agent.
Just make sure not to soak it for too long—proper soaking time ensures the filter gets thoroughly disinfected without any damage to the material.
Vinegar Solution Benefits
Soaking the air filter in a vinegar solution, made of equal parts vinegar and water, effectively eliminates mold spores and bacteria. This helps improve indoor air quality.
The benefits come from vinegar’s natural acidity, which breaks down mold and mildew, making cleaning and sanitization easier.
This process reduces microbial contamination on the filter and boosts the air conditioner’s performance. Regularly using this method not only keeps the air quality better but also extends the unit’s lifespan.
It can even improve energy efficiency by stopping mold buildup that blocks airflow.
After soaking, rinse the filter under warm water to wash away any leftover mold and vinegar. Make sure to dry it thoroughly to avoid moisture, which could cause new mold growth.
These vinegar solution benefits make it an important step in taking care of your window air conditioner.
Soaking Duration Tips
When you soak the air filter in an equal parts vinegar and water solution for about 30 minutes, the vinegar’s acidity effectively breaks down mold and mildew.
To optimize results, make sure the filter is fully submerged in the white vinegar solution during this soaking duration. This maximizes contact with the acidic liquid, enhancing mold removal.
After soaking, gently scrub the filter with a soft brush to dislodge any residual debris, then rinse thoroughly with clean water.
Allow the filter to air dry completely in a well-ventilated area before reinstalling it to prevent moisture buildup, which can promote mold.
For ongoing maintenance, apply these soaking duration tips monthly during the cooling season to maintain air quality and inhibit mold growth effectively.
It’s a simple step that really makes a difference!
Clean the Front Panel and Grille of Your Window AC
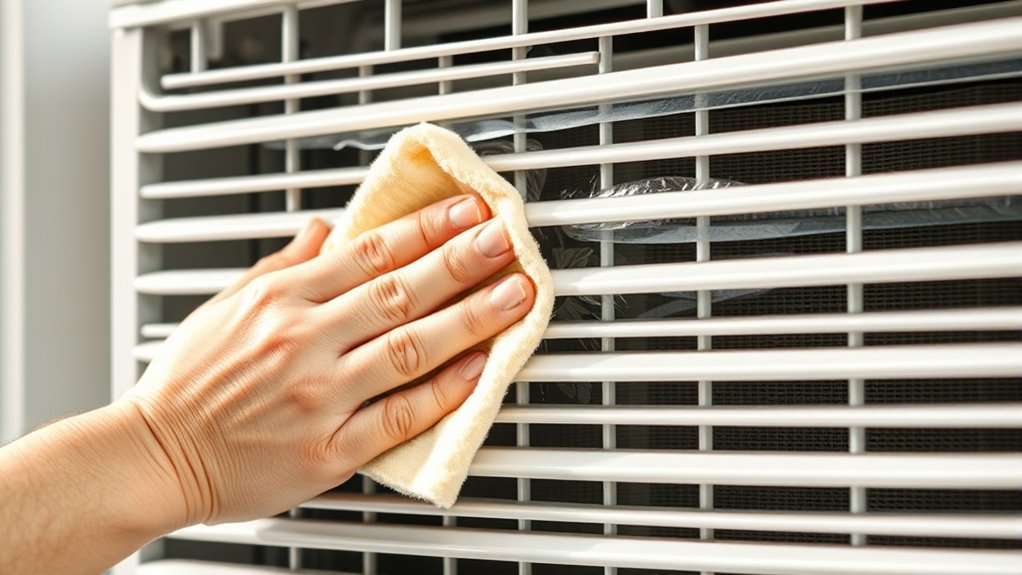
Begin by unplugging the window air conditioner to eliminate any risk of electrical shock.
Next, use a damp cloth with mild soap to meticulously wipe down the front panel and grille, removing dust and dirt that can harbor mold spores.
If the grille is removable, soak it in warm, soapy water for 15 minutes to loosen embedded debris.
Use a soft brush or toothbrush to scrub the slats and vents carefully, targeting visible mold to clean mold effectively.
After thorough cleaning, rinse and dry all parts completely before reassembling the unit.
Ensuring the components are fully dry is critical, as residual moisture can promote further mold growth.
This precise cleaning process helps maintain air quality and prolongs the lifespan of your window air conditioner.
Taking these simple steps really makes a difference!
Spray Vinegar on Mold Spots and Let Sit
After thoroughly cleaning and drying the front panel and grille, you can address remaining mold spots inside the unit by spraying a solution of equal parts white vinegar and water directly onto affected areas.
This vinegar mixture acts as a natural antimicrobial agent, penetrating mold spores to disrupt their structure. Let the solution sit for at least 10 minutes to maximize its effectiveness.
During this time, the acidic properties of vinegar break down mold colonies, reducing their viability. Avoid wiping or disturbing the mold until the vinegar has had sufficient time to work. This step prepares the surface for subsequent cleaning actions.
By applying the vinegar solution precisely and allowing it to dwell, you considerably reduce mold presence, promoting a cleaner, healthier air conditioner environment without using harsh chemicals.
It’s a simple, effective trick that makes a big difference.
Scrub Mold From Tight Spots With a Soft Brush
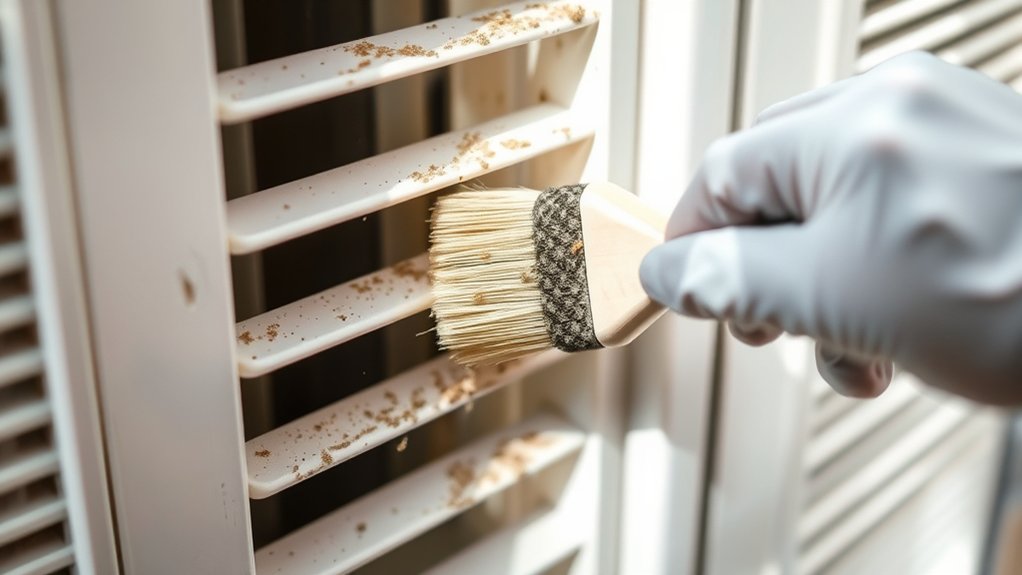
Choose a soft brush, like a child’s toothbrush, to avoid damaging delicate components when scrubbing mold from tight spots. Using gentle, controlled strokes helps you remove mold effectively without harming wiring or fins.
Make sure to focus on those hard-to-reach areas, like cooling fins, the drain pan, and around the air filter compartment.
That way, you’ll get a thorough clean without any damage.
Choosing The Right Brush
Selecting the right brush plays a crucial role in effectively scrubbing mold from tight spots within your window air conditioner.
Using an appropriate cleaning brush guarantees thorough mold removal without damaging delicate components.
When choosing your cleaning brush, consider these factors:
- Opt for a soft-bristled brush, such as a child’s toothbrush, to gently clean fins and wiring.
- Select brushes with ergonomic handles to enhance grip and reach narrow spaces efficiently.
- Prefer brushes with anti-static properties to minimize dust redistribution during cleaning.
- Confirm the brush is clean and chemical-free to avoid contaminating the unit.
Make sure to regularly inspect and replace your cleaning brush to keep it performing at its best and maintain hygiene.
This careful selection really supports safe, effective mold removal and helps preserve your unit’s functionality.
Effective Scrubbing Techniques
Scrub mold from tight spots within your window air conditioner using a soft brush, like a child’s toothbrush, to avoid damaging delicate components.
Apply a 1:1 mixture of water and white vinegar directly onto moldy areas and let it sit for 10 minutes to loosen mold effectively. Use gentle, circular motions with the brush to lift mold without bending fragile parts.
For stubborn mold, dip the soft-bristled brush in diluted dish soap to enhance cleaning while preserving the unit’s integrity.
After scrubbing, thoroughly rinse all cleaned areas with a damp cloth to remove residue.
Incorporating these effective scrubbing techniques into your routine will help maintain your air conditioner regularly. This prevents mold buildup and keeps your unit running at peak performance and hygiene.
Reaching Difficult Areas
Maintaining a clean window air conditioner means paying close attention to mold growth in those hard-to-reach spots, like between fins and around coils.
Mold spores tend to build up in these tight areas, which can lower your unit’s efficiency and the air quality in your home.
Here’s how you can scrub mold from those tricky spots effectively:
- Grab a child’s toothbrush or a small, soft-bristled brush. These let you gently reach mold without damaging any delicate parts.
- Use a diluted vinegar solution on the moldy areas. Let it sit for about 10 minutes before you start scrubbing to help break down the mold.
- Be careful not to soak electrical parts too much—moisture there can cause damage or even short circuits.
- When brushes can’t reach, compressed air is your friend for dislodging mold and debris.
If you clean these spots regularly, you’ll keep mold from building up and maintain great airflow.
It really makes a difference!
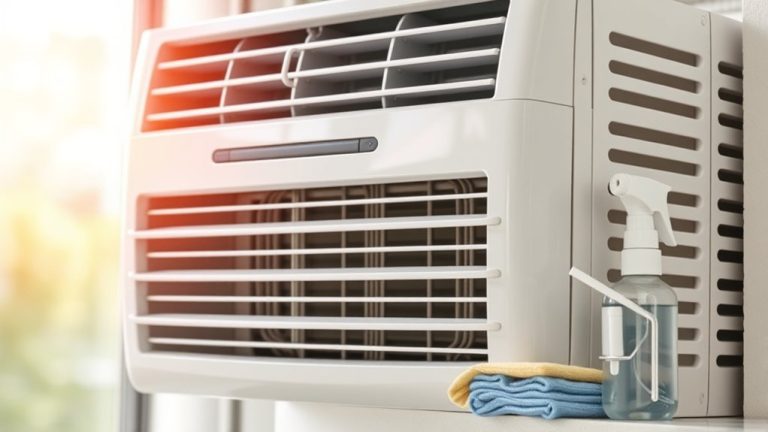
Wipe Moldy and Dusty Surfaces With a Damp Cloth
Although mold can hide in tight corners and crevices, you can effectively remove it by wiping the air conditioner’s surfaces with a damp cloth soaked in equal parts white vinegar and water. This solution disrupts mold growth and helps eliminate mildew on visible surfaces.
Remove hidden mold by wiping air conditioner surfaces with a cloth dampened in equal parts white vinegar and water.
Gently wipe all moldy and dusty areas, paying close attention to corners and edges where mold often accumulates. Change the cloth frequently to prevent spreading mold spores and maintain cleaning efficiency.
After wiping, let the surfaces dry thoroughly. Moisture left behind can encourage further mold growth.
Always wear protective gloves and a mask during this process to reduce exposure to mold spores and airborne irritants.
This method guarantees a thorough, safe cleaning of your window air conditioner’s external components.
Clean the Drain Pan and Drain Line
After wiping down the moldy surfaces, turn your attention to the drain pan and drain line. These areas often harbor excess moisture that promotes mold growth. The drain pan, located at the bottom of the unit, collects condensation and can accumulate standing water if not properly maintained.
Follow these steps to clean them effectively:
- Remove any standing water from the drain pan to prevent mold proliferation.
- Clean the drain pan with a 1:1 vinegar and water solution to eliminate mold and mildew.
- Inspect the drain line for clogs, clearing obstructions with a wet/dry vacuum or flexible brush.
- Pour vinegar periodically into the drain line to inhibit buildup and mold formation.
Also, make sure the unit tilts slightly outward. This helps with proper drainage and reduces stagnant water in the drain pan.
It’s a simple step that can make a big difference.
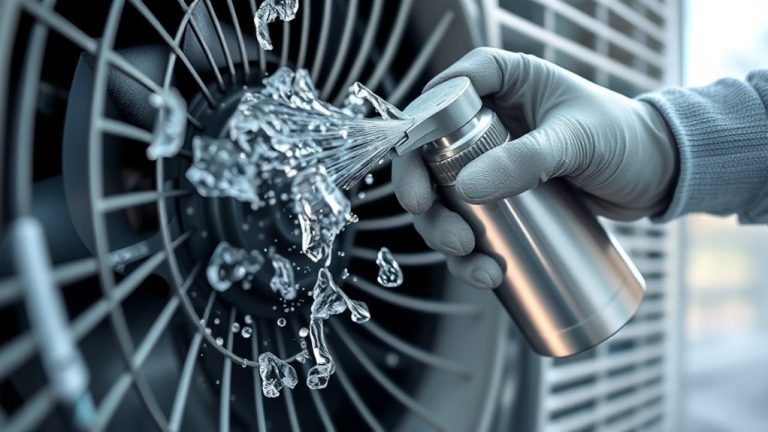
Clean Mold From the Fan and Motor
Before you start cleaning the fan blades and motor, make sure the unit is turned off and unplugged. This helps avoid any electrical hazards.
Next, grab a soft brush or cloth dampened with vinegar and gently wipe away the mold from the fan. Just be careful not to get too much moisture near the motor.
After that, use a vacuum with a brush attachment to remove dust from the motor area.
Once you’re done, let everything dry completely before putting it back together.
Fan Blade Cleaning
Start by unplugging your window air conditioner and allowing the fan blades to cool completely to guarantee safety during cleaning. Proper fan blade cleaning prevents mold buildup and maintains air quality.
Follow these steps:
- Lightly dampen a cloth or sponge with a mild detergent solution; avoid soaking it to prevent moisture damage.
- Carefully wipe the fan blades to remove visible mold and dust deposits.
- Use a soft brush, like an old toothbrush, to reach crevices and gently scrub mold without harming the blades.
- Thoroughly dry the fan blades before reassembling the unit to inhibit mold regrowth.
Adhering to this method ensures effective mold removal while protecting the fan blades and internal components from moisture-related issues.
It’s really important to keep things dry so mold doesn’t come back. Taking these few simple steps can make a big difference in the air quality and the lifespan of your unit.
Motor Area Safety
While ensuring your window air conditioner is unplugged and cooled for at least 30 minutes, you can safely proceed to clean the fan and motor area.
Use a soft brush or vacuum with a brush attachment to gently remove dust and debris from the motor area and fan blades. Just be careful not to damage any wiring or components.
Avoid spraying water or cleaning solutions directly onto the motor area. Instead, dampen a cloth with a mild detergent to clean surfaces safely. This way, you keep everything protected.
Take a moment to inspect the fan blades for rust or damage that could affect performance.
After cleaning, make sure all parts, especially the motor area, are completely dry before you put the unit back together. This helps prevent moisture buildup, which reduces the risk of mold and keeps your air conditioner running efficiently.
Dry Your Window AC by Running the Fan
Run the fan on your window AC unit to circulate air and speed up the drying of any leftover moisture. This step is really important to stop mold from coming back in damp spots.
To dry your unit well, just follow these simple steps:
- Set the fan to run continuously for several hours after cleaning.
- Use the dry mode if your unit has one to cut down the internal humidity.
- Make sure the airflow goes over all parts, including filters and coils.
- Keep using the fan regularly to avoid moisture sitting around.
The fan’s airflow helps evaporation, getting rid of the dampness that mold loves. Keeping your unit dry like this lowers the chance of germs growing and helps your AC last longer.
Reassemble and Test Your Window AC
Carefully reassemble your window air conditioner only after all components are fully dry to prevent moisture buildup that can encourage mold growth.
Begin by aligning the front panel precisely, making sure the electronic controls and wiring stay unharmed. Next, reinsert the air filter, confirming it fits securely and is oriented properly to maintain ideal airflow.
Align the front panel carefully and reinsert the air filter securely to ensure optimal airflow and protect electronics.
After reassembling, plug the unit back in and power it on. Test for proper operation by listening for unusual noises and checking airflow efficiency.
Over the next few days, keep an eye on the unit’s performance for any signs of residual mold or drops in function.
If you notice any issues, address them promptly to keep your air conditioner clean and efficient. Proper reassembly is key to preventing mold from coming back and ensuring your unit cools safely and effectively.
Frequently Asked Questions
Can I Use Bleach Instead of Vinegar for Mold Removal?
You can use bleach for mold removal, as bleach efficacy against mold spores is well-documented.
However, bleach’s strong fumes and potential to damage plastic and metal parts in your air conditioner make it less ideal. You’ll need proper ventilation and thorough rinsing to avoid corrosion.
Vinegar offers a safer, eco-friendly alternative with natural antifungal properties. It’s easier on your unit and your health.
So, if you’re looking for something less harsh, vinegar is a great choice.
Choose bleach only for tough stains. Just make sure to apply diluted solutions carefully to protect your unit. Better safe than sorry!
How Often Should I Clean Mold From My Window AC?
You should clean mold from your window AC according to a strict maintenance schedule. Ideally, perform light cleaning monthly during the cooling season to prevent mold buildup.
Also, make sure to do a deep cleaning at the start of each season. It’s a good idea to inspect the unit every few weeks, especially if you live in a humid climate. Catching mold early helps a lot.
This consistent maintenance schedule not only minimizes health risks but also keeps your AC running efficiently without mold contamination. Staying on top of it really pays off!
Is Mold Harmful to Breathe During Cleaning?
Yes, mold is harmful to breathe during cleaning because it releases spores that pose significant health risks.
When you inhale these spores, you can experience allergic reactions, asthma attacks, or respiratory illnesses.
Prolonged exposure increases the risk of more serious conditions, especially if the mold is toxic, like black mold.
To protect yourself, always wear a mask and gloves to minimize inhaling spores and avoid skin contact during mold removal.
Can Mold Return After Cleaning the AC Unit?
Yes, mold can return after cleaning the AC unit if you don’t implement effective mold prevention strategies.
To stop mold from regrowing, you need to control moisture, humidity, and dust levels inside the unit.
Regular maintenance like cleaning filters, ensuring proper drainage, and improving air circulation are essential.
Using a dehumidifier and inspecting the unit frequently will also help you maintain an environment that’s inhospitable to mold spores.
This way, you reduce the chances of mold coming back.
Should I Replace the Air Filter if Mold Is Present?
Think of your air filter as the lungs of your AC unit. If mold is present, you should replace it immediately.
Proper filter maintenance is really important because a contaminated filter can spread mold spores, which hurts your home’s air quality and your AC’s efficiency.
You want to replace your filter every 1-3 months, ideally with a HEPA type.
Just make sure the new filter is dry and clean before installing it. This helps prevent mold from coming back and keeps the airflow through your system running smoothly.
Conclusion
By following these 10 steps, you’ll transform your window AC from a moldy maze into a clean, fresh breeze. Like clearing fog from a lens, you restore clarity and efficiency. This ensures healthier air and longer appliance life.
Each scrub and soak is a precise stroke, erasing contaminants and renewing function. With careful care, your AC becomes a symbol of pure airflow. Scientifically refreshed, it’s ready to cool safely and effectively.