7 Easy Steps to Clean Air Conditioner Evaporator Coils
First, turn off the power and remove the access panel to safely reach the evaporator coil. Take a close look at the coil to check for any dirt or damage. Use a soft brush to gently clear away surface debris.
Next, apply a foaming coil cleaner and let it sit for 10 to 15 minutes. After that, rinse the coil with low-pressure water. Make sure to dry it thoroughly and straighten any bent fins.
Finally, securely reassemble the unit. Following these steps helps boost your system’s efficiency and can prevent costly repairs. There’s a lot more you can do to keep your AC running at its best!
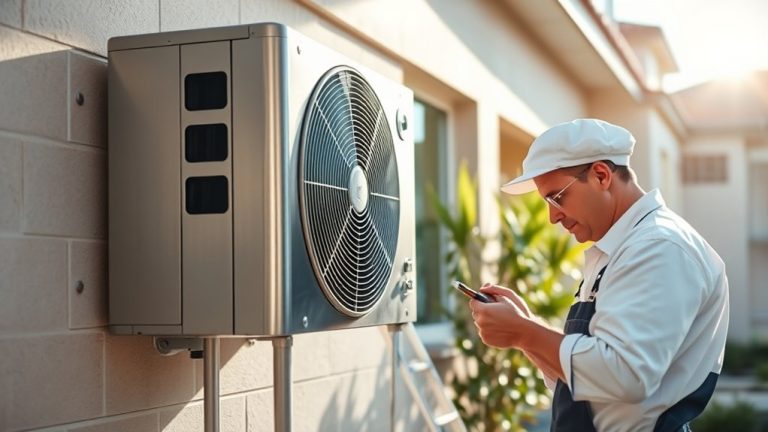
Turn Off Power and Remove the Access Panel
Before you begin cleaning your air conditioner coils, the first step is to turn off the power at the circuit breaker to secure your safety.
Next, locate the access panel on the indoor unit, which is usually secured by screws. Make sure to check the manufacturer’s guidelines to verify the correct disassembly procedure for your specific model.
Using a screwdriver or drill, carefully remove the screws and set them aside for reassembly.
Then, remove the access panel to expose the evaporator coils. You might want to use a flashlight to inspect the coils and the surrounding area for visible dirt or debris before you start cleaning.
Keep track of all screws and components during disassembly to make sure reassembly goes smoothly.
Following these steps precisely will protect both you and the unit during maintenance.
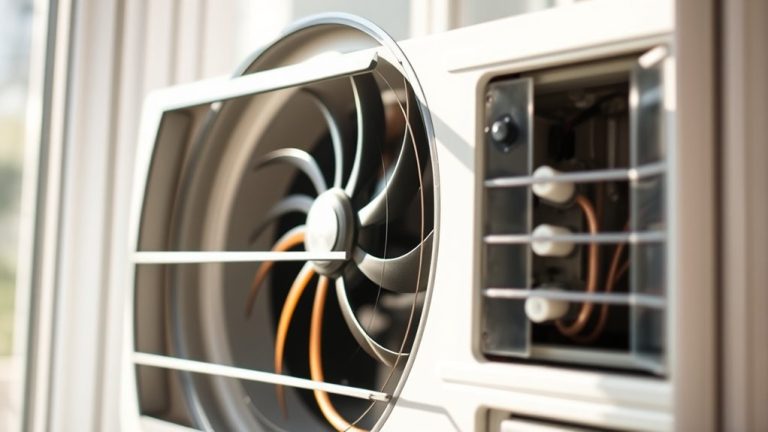
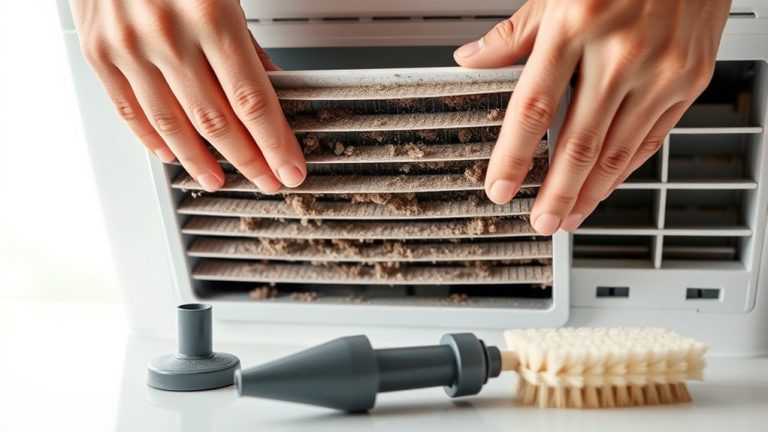
Look Over the Evaporator Coil for Dirt and Damage
When inspecting the evaporator coil, carefully examine it for dust, dirt, and debris that can restrict airflow and reduce cooling efficiency.
To inspect thoroughly, follow these three steps:
- Check for visible dust and accumulated grime on the coil surface, which can impede airflow and cause the coil to freeze.
- Look closely for signs of damage such as bent fins or corrosion; these defects compromise heat exchange and cooling efficiency.
- Use a flashlight to illuminate hard-to-see areas, ensuring no hidden dirt or damage is missed.
Regular visual checks of the evaporator coil help you catch problems early, preventing costly repairs and maintaining peak system performance.
It’s a simple step, but prioritizing it means your system stays efficient and lasts longer.
Use a Soft Brush to Gently Remove Surface Debris
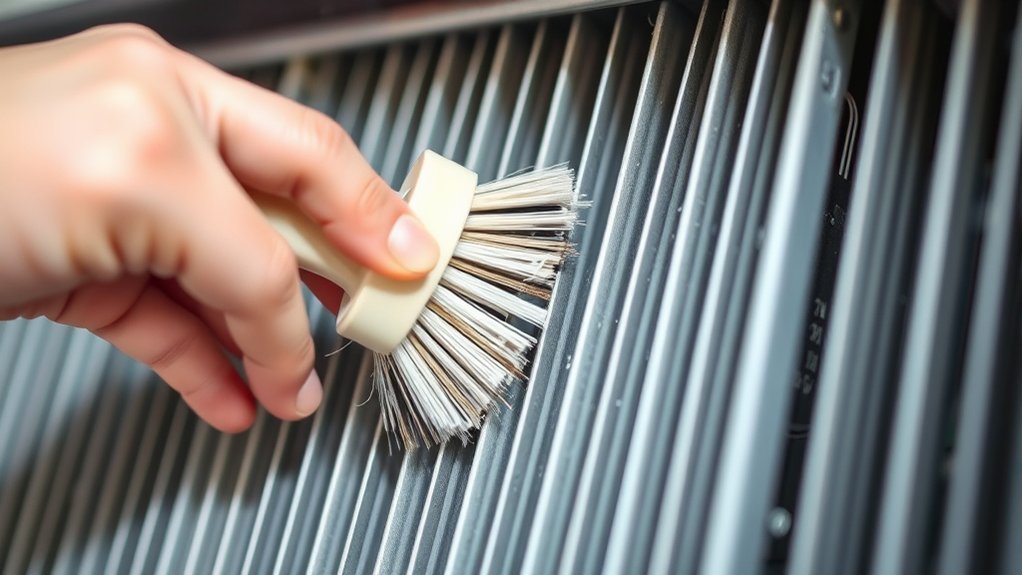
Use a soft brush to carefully remove surface debris from the evaporator coils without damaging the delicate aluminum fins. Start brushing from the top and move downward, following the fins’ direction to avoid bending them. This technique prevents dust buildup that can reduce airflow by up to 30%, ultimately improving your air conditioning unit’s efficiency.
Try to make this a regular part of your annual maintenance routine. It helps extend the lifespan of your system and keeps everything running smoothly. Proper coil cleaning with a soft brush preserves the aluminum fins, ensuring maximum airflow and cooling performance.
| Step | Action |
|---|---|
| 1 | Select a soft brush |
| 2 | Start from top of coils |
| 3 | Brush downward with fins |
| 4 | Remove surface debris |
| 5 | Inspect for bent fins |
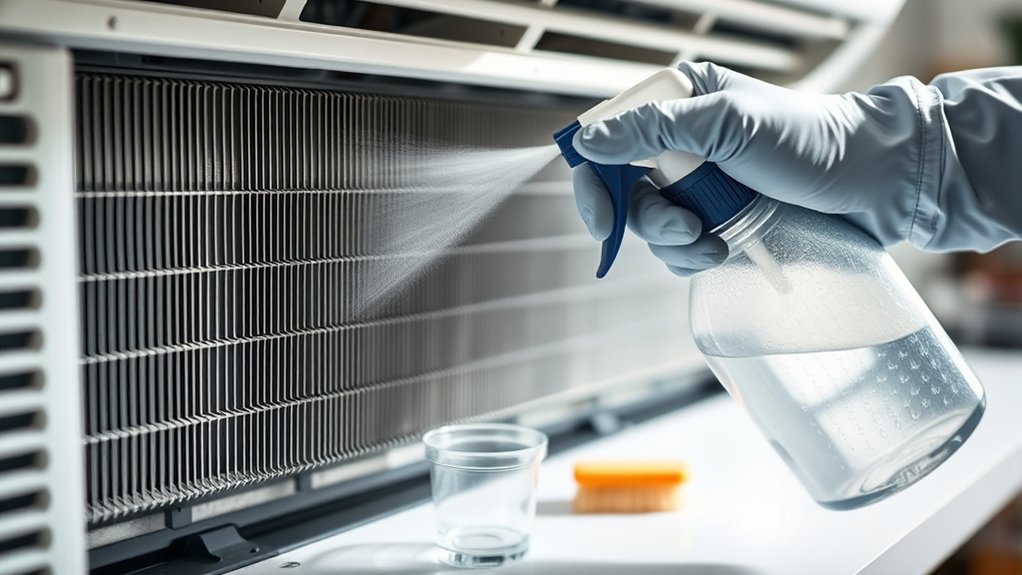
Apply Foaming Coil Cleaner and Let It Sit 10–15 Minutes
Apply a foaming coil cleaner evenly across the evaporator coils to target embedded dirt and grime. This guarantees thorough coverage for effective cleaning.
Let the cleaner sit for 10–15 minutes, allowing it to penetrate and break down stubborn contaminants. During this time, keep an eye on the foaming action. It signals the cleaner is actively dissolving debris that impairs airflow and cooling efficiency.
Allow the cleaner 10–15 minutes to foam and break down debris, improving airflow and cooling performance.
Follow these steps for ideal maintenance:
- Apply the foaming coil cleaner uniformly to all coil surfaces.
- Allow 10–15 minutes for the cleaner to work without disturbance.
- Avoid rinsing off prematurely to prevent leftover residue that can reduce performance.
Consistent application of foaming coil cleaner enhances evaporator coil maintenance. This helps boost your AC unit’s efficiency and lifespan.
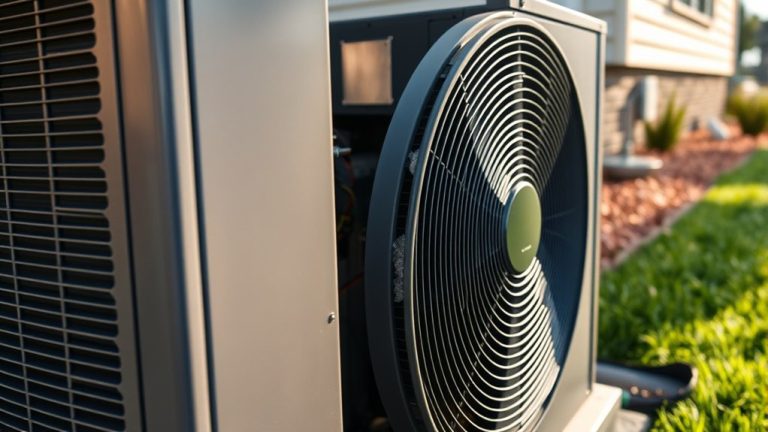
Rinse the Evaporator Coil Carefully With Water

After allowing the foaming coil cleaner to break down dirt and grime, the next step involves rinsing the evaporator coil carefully with water.
First, make sure the AC unit is powered off at the circuit breaker to avoid any electrical hazards. Use a spray bottle or a gentle hose nozzle to rinse the coil.
Apply water with low pressure to prevent damage to the delicate coil fins. Direct the water flow from the inside outward, thoroughly removing all coil cleaner residue and debris. This precise rinse really helps improve airflow and overall performance.
Regular maintenance that includes careful rinsing of the evaporator coil keeps your HVAC system clean and efficient, which extends its lifespan.
Proper rinsing is key for ideal cooling and stops buildup that can impair how your AC unit works.
Dry the Evaporator Coil
Once you’ve rinsed the evaporator coil, gently dry its surfaces with a clean cloth or paper towel to prevent moisture buildup that can cause mold growth.
To effectively dry the evaporator coil, follow these steps:
- Use a clean cloth to absorb excess water, focusing on all visible surfaces to guarantee no moisture buildup remains.
- Inspect the coil carefully for residual cleaning solution or debris, removing any remnants to avoid contamination.
- Promote air circulation by using a fan or allowing natural airflow before reassembling the access panel.
A thoroughly dried evaporator coil enhances air circulation, prevents mold growth, and improves energy efficiency.
Make sure the coil is completely dry before closing the access panel. This helps maintain peak system performance and prevents any operational issues.
Straighten Bent Fins and Reassemble the Unit Safely
Use a fin comb to gently straighten any bent fins on the evaporator coil.
Insert the comb vertically and pull it straight to avoid causing any more damage.
Once the fins are all aligned, go ahead and securely reassemble the unit.
Make sure to fasten all panels and tighten the screws well to prevent any air leaks.
Finally, double-check all the electrical connections before you restore power.
This will help ensure the unit operates safely and efficiently.
Straighten Bent Fins
Grab a fin comb and carefully straighten any bent fins on the evaporator coil to restore peak airflow and heat transfer. Proper straightening of fins is vital for maintaining AC efficiency and ideal cooling performance.
Follow these steps:
- Inspect the fins closely for damage after straightening, as damaged fins reduce airflow and overall system efficiency.
- Confirm fins are evenly aligned to prevent airflow obstructions that can cause freezing issues.
- Recognize that proper fin straightening can improve coil efficiency, potentially lowering energy costs by up to 30%.
Regular fin maintenance helps maintain effective heat exchange in the evaporator coils, supporting consistent cooling and energy savings.
Straightening fins is a critical part of AC upkeep. It enhances airflow and prolongs system lifespan.
Safe Unit Reassembly
Before reassembling the unit, carefully inspect the evaporator coil fins and straighten any bent ones with a fin comb to guarantee ideal airflow. Bent fins restrict airflow, reducing efficiency, so align them vertically with the fin comb.
After cleaning the evaporator and addressing the fins, proceed with safe unit reassembly. Reattach the access panel and other components, making certain all screws are securely fastened to prevent vibration or loose parts.
Reconnect any electrical connections you detached during cleaning, verifying they’re secure and properly oriented to avoid electrical faults.
Once fully reassembled, restore power to the unit. Run the AC and check for unusual noises or performance issues to confirm successful maintenance.
Following these steps assures your clean coils function efficiently and your system operates safely. It’s a simple process that really makes a difference in keeping everything running smoothly.
Frequently Asked Questions
How Often Should Evaporator Coils Be Cleaned for Optimal Performance?
You should follow a coil maintenance frequency of at least once a year for ideal performance.
Seasonal cleaning tips suggest spring as the best time, but if you have pets or dust, consider every six months.
Use DIY cleaning techniques carefully to avoid common cleaning mistakes.
For performance improvement strategies and energy efficiency benefits, schedule professional service recommendations regularly.
Watch for signs of neglect, as they impact lifespan and system efficiency.
Taking care of your evaporator coils can really make a difference in how well your system runs.
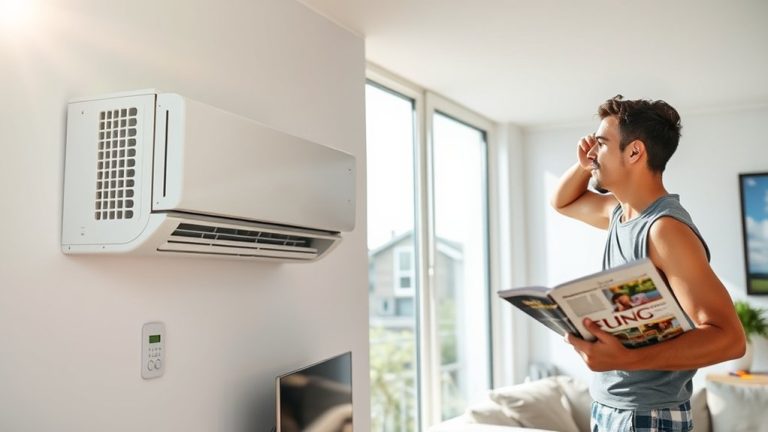
What Are the Risks of Not Cleaning Evaporator Coils Regularly?
If you don’t clean evaporator coils regularly, coil efficiency drops. This causes increased energy consumption and higher maintenance costs.
Dirt restricts refrigerant flow and heat exchange, which leads to performance issues and moisture buildup. That moisture can promote mold growth, which compromises indoor air quality and might cause health problems.
Over time, these issues reduce your system’s lifespan and increase the risk of costly repairs.
Can I Use Household Cleaning Products Instead of Coil Cleaner?
You shouldn’t rely on household products as cleaning alternatives for evaporator coils because of safety concerns and how well they actually work. DIY solutions like vinegar can cause corrosion and leave residues, which reduces performance.
Sure, they might be cheaper upfront, but these cleaners often mean you’ll have to clean more often, which can end up costing you more in the long run. It’s better to use HVAC-approved coil cleaners that are recommended for the job to make sure you’re getting the best maintenance possible.
Also, think about the environmental impact—choosing biodegradable options is a smart move.
And don’t forget to follow maintenance tips to keep your coils running efficiently for a long time.
How Do I Know if My Evaporator Coil Needs Professional Maintenance?
Think of your evaporator coil as your system’s heart. If it’s struggling, the whole unit suffers.
Watch for signs like reduced energy efficiency, airflow issues, or strange noises.
If cleaning it yourself doesn’t help, it’s time to call a professional. Ignoring how often you maintain it can lead to higher repair costs and a shorter system lifespan.
Also, keep an eye out for refrigerant leaks early on because they can seriously affect cooling.
Getting timely professional maintenance is key to keeping your system running efficiently and at its best.
What Symptoms Indicate a Dirty or Damaged Evaporator Coil?
You’ll notice coil performance drops with airflow issues, causing temperature fluctuations and reduced energy efficiency.
Frost buildup signals restricted airflow, which is often linked to refrigerant leaks.
Elevated humidity levels indoors and unusual noises during operation also indicate problems.
Frequent system cycling and persistent maintenance signs, like musty odors, suggest the coil is dirty or damaged.
It’s important to address these symptoms promptly to restore peak AC function and avoid costly repairs.
Don’t wait until small issues turn into big problems!
Conclusion
By following these 7 easy steps, you’ll keep your evaporator coils spotless and running like a dream. Neglecting this task can make your AC work harder than a marathon runner in the desert, so don’t skip it.
Remember to power off, clean gently, rinse thoroughly, and dry completely before reassembling. With proper care, your system will stay efficient and extend its lifespan, saving you time, energy, and costly repairs down the line.