10 Easy Steps to Clean Your Air Conditioner Coil
Start by turning off power at both the thermostat and circuit breaker. Then, remove the outer cover carefully to access the coils. Take a good look for dirt, debris, and bent fins. If you spot any bent fins, straighten them gently with a fin comb.
Next, pick the right coil cleaner and apply it evenly using low pressure. Rinse the coils thoroughly, but make sure to do this during cooler hours to avoid damage. Let the coils dry completely before putting the unit back together and turning the power back on.
Once everything is reassembled, test your system’s performance to see how it’s running. It’s a good idea to keep up with regular maintenance to make sure your air conditioner stays efficient. If you want, check out detailed steps for each part of the process to get the best results.
Turn Off Power and Prepare Your AC Unit
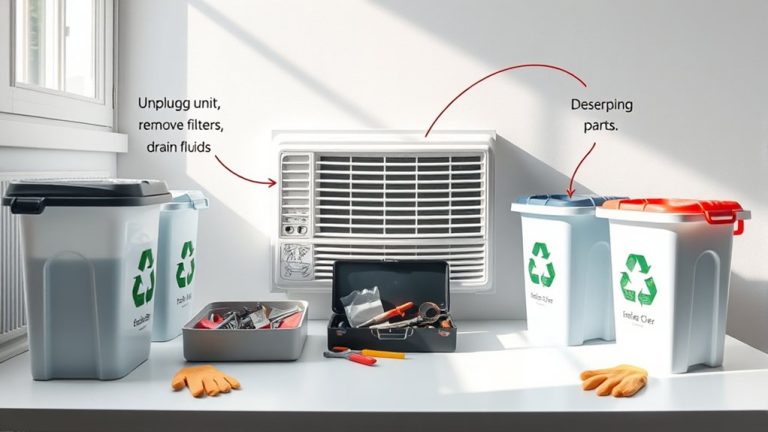
Before you begin cleaning your air conditioner coil, turn off the power at both the thermostat and the circuit breaker to confirm your safety. This step is critical to avoid electrical hazards when working on your air conditioning unit.
Next, put on gloves to protect your hands from sharp coil fins during the cleaning process. Although you won’t remove the outer cover yet, make sure you have the proper tools ready for coil access.
Prepare your cleaning solution beforehand, either a commercial coil cleaner formulated for HVAC systems or a mild detergent mixture.
Also, have a garden hose or low-pressure sprayer on hand for rinsing the coils once cleaning is complete.
Following these safety and preparation measures guarantees an efficient and hazard-free coil cleaning session.
Taking these steps really makes the whole process smoother and safer.
Remove Outer Cover to Access Coils
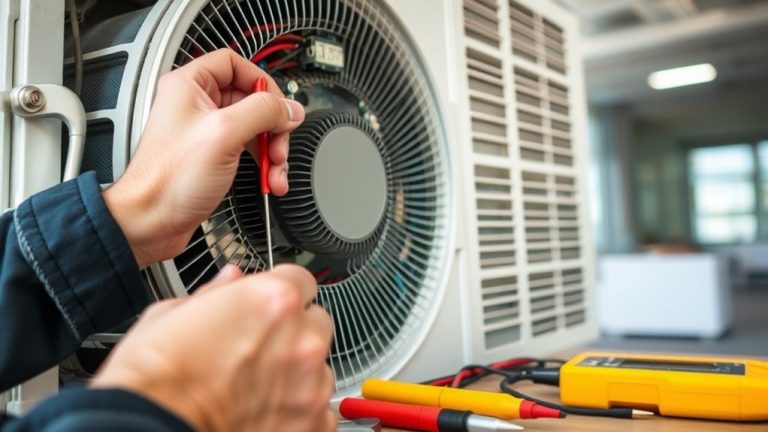
With the power safely turned off and your gloves on, you’re ready to remove the outer cover of the outdoor unit to access the coils. Begin by using a screwdriver or nut driver to carefully remove the screws securing the outer cover.
Handle the cover gently as you lift or slide it off, avoiding any damage to internal components.
Once removed, you’ll have clear access to the condenser coils, essential for the cleaning process. Take a moment for a quick inspection to identify any debris or obstacles that could interfere with your work.
Clear access to condenser coils allows for inspection and removal of debris before cleaning begins.
Prioritizing safety throughout this step guarantees you protect both yourself and the unit.
Removing the outer cover correctly sets the foundation for effective coil cleaning and maintenance. It’s a simple step but really important, so take your time and do it right.
Inspect Coils for Dirt, Debris, and Damage
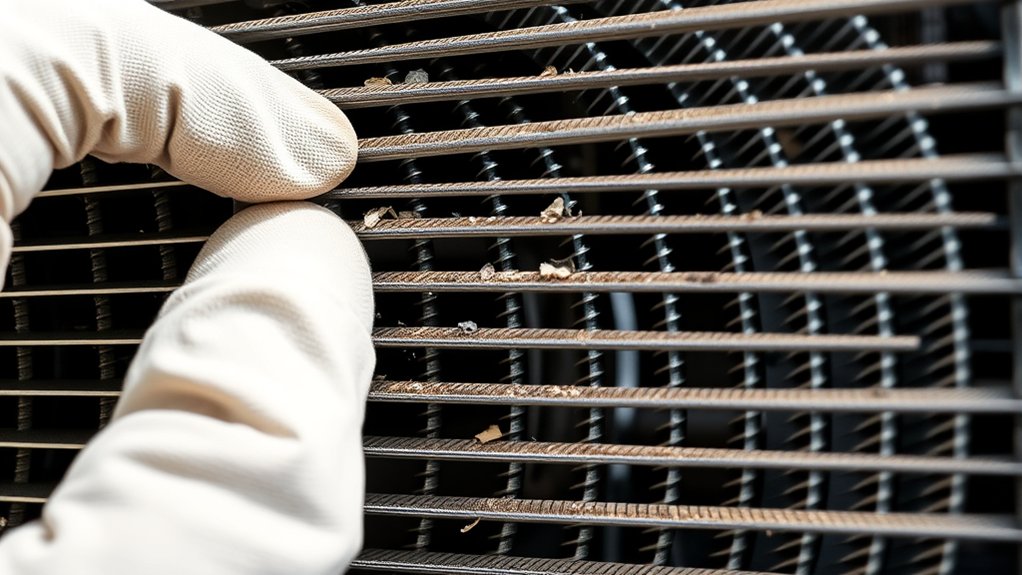
Start by thoroughly inspecting your air conditioner coils for dirt, debris, and any physical damage. You need to inspect coils carefully to maintain ideal airflow and cooling performance. Use a flashlight to guarantee a thorough inspection of both condenser and evaporator coils, focusing on these critical aspects:
- Check for dirt and debris buildup that hinders heat transfer and reduces efficiency.
- Identify physical damage such as bent fins, which obstruct airflow and impair cooling performance.
- Look for mold and mildew, signaling moisture issues that harm indoor air quality.
Keeping the area around coils clear supports ideal airflow and makes cleaning easier.
A detailed inspection helps you catch issues early, so your AC runs efficiently and reliably.
Straighten Bent AC Coil Fins to Improve Airflow
Bent AC coil fins can reduce your system’s airflow by up to 30%. This directly lowers cooling efficiency and raises energy costs. To keep things running smoothly, it’s a good idea to inspect your air conditioner coils for bent fins during cleaning.
When you find bent fins, use a fin comb or a flathead screwdriver to straighten them carefully. Just be gentle to avoid causing any damage. After straightening, clean the fins to remove debris and make sure airflow isn’t blocked.
Doing this regularly helps prevent efficiency loss and keeps your system performing well. It’s a simple maintenance step that makes a big difference over time.
| Task | Tool Needed | Purpose |
|---|---|---|
| Inspect fins | Visual inspection | Detect bends and debris |
| Straighten fins | Fin comb/screwdriver | Restore airflow |
| Clean fins | Soft brush/water | Remove debris |
| Prevent damage | Gentle handling | Avoid breaking fins |
| Maintain system | Routine checks | Preserve cooling efficiency |
Pick the Best Coil Cleaner for Your AC
When choosing a coil cleaner, think about how dirty your coils are and their overall condition. For heavy buildup, commercial foaming cleaners do a great job.
But if you’re just doing routine maintenance, mild detergents usually work just fine.
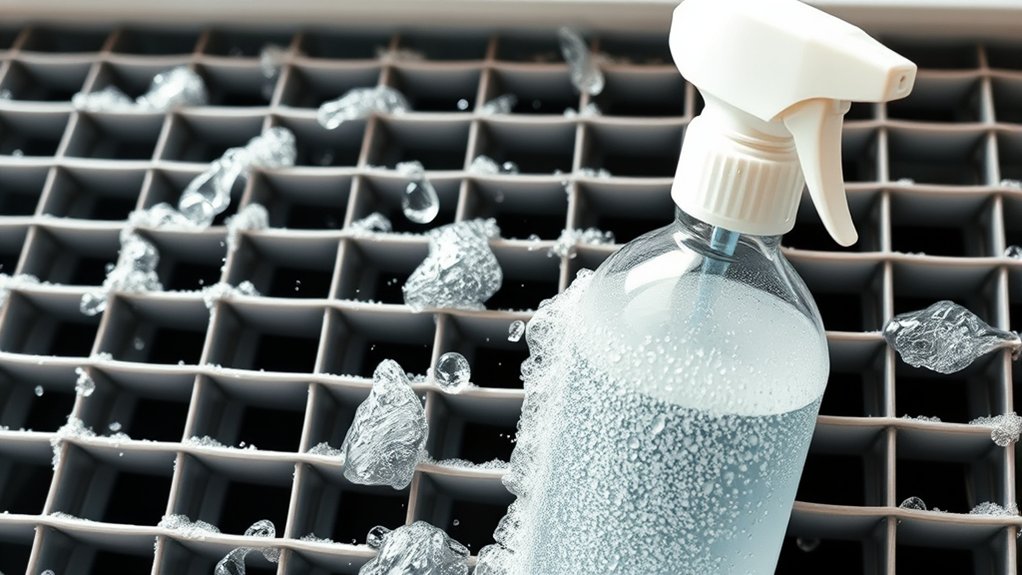
Apply the cleaner evenly, and it’s best to use a low-pressure sprayer so you don’t accidentally damage the fins.
Also, be sure to follow the rinsing instructions carefully—that way, you avoid leaving any residue that might cause corrosion.
Whenever you can, go for eco-friendly options too; they’re better for the environment and just as effective.
Types Of Coil Cleaners
When selecting a coil cleaner for your air conditioner, understanding the different types available guarantees you choose the most effective and safe option for your system.
Coil cleaners vary in formulation and application method, so picking the right one affects thorough coverage and effective cleaning of evaporator coils and condenser coils.
- Foaming coil cleaners expand on contact, loosening tough buildup for deep cleaning.
- Non-acidic cleaners protect metal components from corrosion, ideal for regular maintenance.
- Biodegradable options minimize environmental impact while guaranteeing safe, effective cleaning.
Many come as concentrated solutions, letting you dilute them based on your needs.
Always follow instructions closely to avoid residue that can impair coil performance.
This guarantees your AC runs efficiently and lasts longer.
Choosing Effective Solutions
Although selecting the right coil cleaner may seem straightforward, choosing a formula that balances effectiveness with coil safety is essential. For air conditioners, opt for non-acidic, biodegradable formulas designed specifically for coil cleaning applications. These clean AC coils without causing corrosion.
Foaming coil cleaners offer effective solutions by clinging to vertical surfaces, ensuring thorough cleaning and minimal runoff. When you face stubborn buildup, go for commercial HVAC maintenance cleaners formulated to remove dirt efficiently while preserving coil integrity.
Always verify compatibility with your coil material, whether aluminum or copper, to prevent premature system damage. Be sure to follow manufacturer instructions for dilution and application carefully.
Apply Coil Cleaner the Right Way
Three essential steps guarantee you apply coil cleaner correctly: select a cleaner made specifically for AC coils, remove any loose debris beforehand, and follow the manufacturer’s guidelines for dilution and application.
When you apply coil cleaner, use one formulated specifically for cleaning AC coils to avoid damage. Before application, check that the coils are free of visible dirt by gently brushing or vacuuming.
Then:
- Mix the coil cleaner exactly as directed so it can penetrate deep into grime.
- Apply the cleaner evenly over the coils, letting it foam and break down buildup.
- Avoid rinsing too soon; let the cleaner do its job to make sure the system is thoroughly cleaned for proper operation.
Always follow the manufacturer’s instructions to keep your coils in good shape and running efficiently.
Rinse Coils Gently With Low-Pressure Water
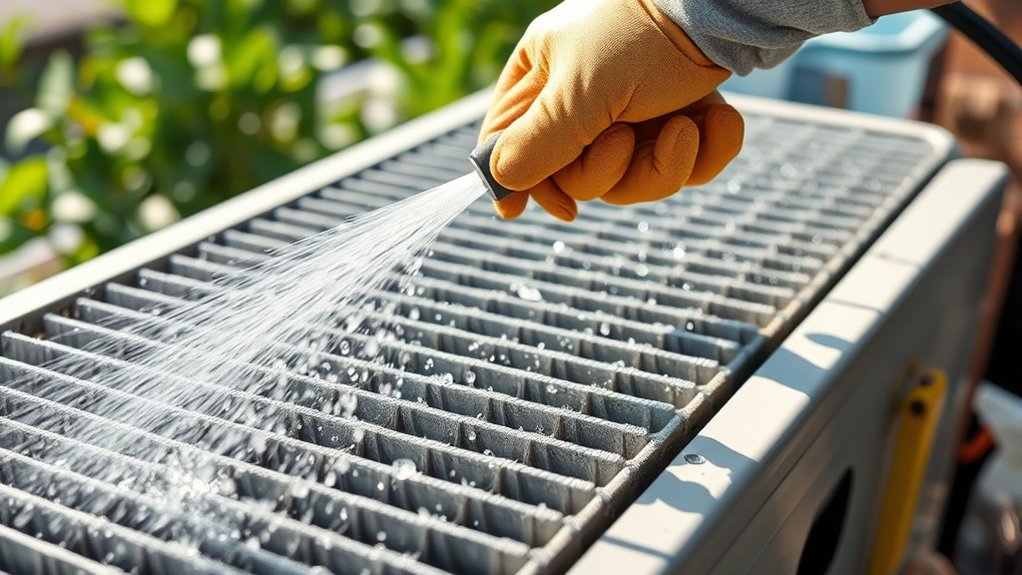
Rinse your air conditioner coils gently using a garden hose equipped with a low-pressure spray nozzle. Aim the water from the inside out to effectively dislodge dirt and cleaning residues. Using low-pressure water helps prevent damage to the delicate fins, which keeps airflow steady and energy use efficient.
After applying coil cleaner, it’s really important to rinse thoroughly. This removes all the dirt, grime, and cleaning agents, leaving your air conditioner nice and clean. Doing this step right helps with better heat transfer and improves how well your AC cools.
Avoid using high-pressure sprays since they can bend the fins and mess up how your unit works. It’s best to rinse during the cooler parts of the day to avoid quick evaporation, giving the water time to do its job.
Proper rinsing supports efficient operation and helps your AC last longer.
Dry and Reassemble the AC Unit
Allow the AC coils to dry completely before reassembling the unit. This helps prevent moisture buildup that can cause mold or mildew.
Once the coils are dry, carefully put the unit back together by replacing the outer cover and securing it with screws. This step is important to make sure there are no air leaks that could affect airflow.
Reassemble the unit carefully, securing the cover with screws to prevent air leaks and maintain optimal airflow.
Before you close everything up, double-check that all electrical connections are correctly reattached. Take a moment to inspect the coil fins and straighten any that are bent. This helps keep the airflow at its best.
After you’ve reassembled the unit, keep an eye on it for a while. Listen for any unusual noises, which might mean there are loose parts or misalignments.
Also, watch out for signs of performance issues, like reduced cooling efficiency. Make sure the airflow through the coil fins is steady and strong.
Restore Power and Test Cooling Performance
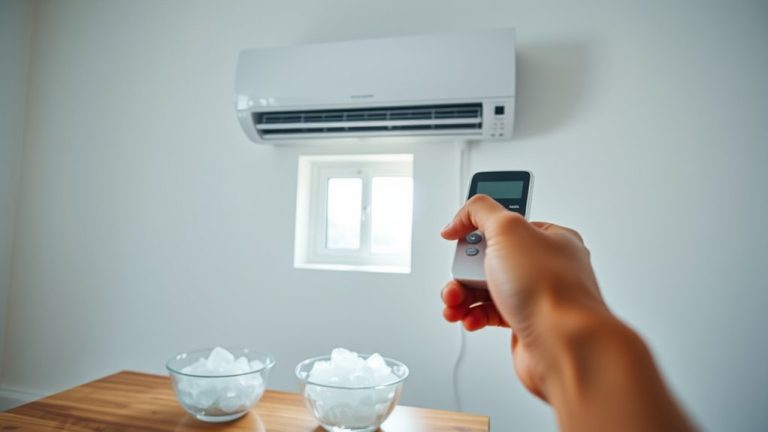
Once you’ve reassembled the unit and confirmed all components are secure, restore power by switching on the circuit breaker and setting the thermostat. Keep an eye (and ear) on the system for any unusual noises or strange behavior. These could be signs of deeper issues that need attention.
Next, test the cooling performance by lowering the thermostat and timing how quickly the air conditioning unit cools the space. Grab a thermometer and check that the air coming from the vents is noticeably cooler than the room temperature. If the cooling still feels off, it might be time to call in a professional to take a closer look.
| Step | Action | Purpose |
|---|---|---|
| Restore Power | Switch on breaker & thermostat | Activate the unit |
| Monitor System | Listen for unusual noises | Detect underlying issues |
| Test Cooling Performance | Set low thermostat & measure | Confirm cooling efficiency |
Schedule Regular Cleaning for Optimal Performance
Although it’s easy to overlook, scheduling regular cleaning of your air conditioner coils is essential to maintain peak performance and energy efficiency.
You should schedule regular cleaning annually before the cooling season for residential units, and 2-4 times yearly for commercial HVAC systems exposed to more dust.
Regular maintenance improves cooling efficiency and helps avoid costly energy bills caused by dirty coils.
To guarantee peak performance:
- Perform visual inspections every few months to spot dirt buildup.
- Monitor energy bills for sudden spikes, signaling coil issues.
- Hire professional cleaning services for thorough coil care and to prolong lifespan.
Frequently Asked Questions
How Often Should I Replace My Air Conditioner’s Air Filter?
You should replace your air filter every 1 to 3 months, depending on the type of filter you use and the season.
Keep an eye out for signs of clogging, like reduced airflow or extra dust, which mean it’s time to swap the filter.
Keeping your filter in good shape is super important. It helps improve indoor air quality, boosts energy efficiency, and even benefits your health.
Regular filter maintenance can save you money by preventing strain on your AC system.
If you have pets or allergies, you’ll want to change the filter more often to keep the air clean and your system running smoothly.
Can Dirty Coils Cause Strange Odors in My Home?
Yes, dirty coils can cause strange odors in your home because they often become hotspots for mold growth and trapped moisture. This makes them prime sources of unpleasant smells.
Keeping your coils clean is super important for your HVAC system’s hygiene. It not only improves the air quality in your home but also helps your system run more efficiently.
Regular cleaning helps control humidity levels and can even prevent pests from making themselves at home.
While mold and dirt are the usual suspects, don’t forget to check for other issues like refrigerant leaks or drain line blockages.
These steps will help you fully tackle odor problems and keep your HVAC system performing at its best.
What Tools Do I Need for Cleaning Coil Fins Safely?
For effective coil cleaning, start with safety gear. Always wear protective gloves to prevent injury.
Next, prioritize your tool selection. You’ll need a fin comb to straighten bent fins, a gentle spray nozzle for rinsing, and a non-acidic cleaning solution.
Follow a step-by-step guide to avoid common mistakes like using high-pressure water.
Try incorporating some DIY tips to maintain your coils regularly. Adjust how often you clean based on usage to keep airflow and system efficiency at their best.
Is It Safe to Clean Coils During Extreme Weather Conditions?
You shouldn’t clean coils during extreme weather conditions due to coil cleaning safety concerns.
Extreme temperature precautions are essential to avoid heat exhaustion or slippery surfaces. Weather impact considerations affect cleaning solution efficiency and equipment protection strategies.
It’s important to follow seasonal cleaning advice to maintain indoor air quality and energy efficiency benefits.
Using proper DIY cleaning methods or hiring professional cleaning services can guarantee effective coil maintenance without risking damage or personal injury.
So, don’t rush into cleaning coils when the weather is harsh.
Taking the right precautions keeps both you and your equipment safe.
How Do I Know if My AC Coil Needs Professional Repair?
Think of your AC coil as the engine’s heart. If it falters, you’ll notice coil inspection tips like bent fins, corrosion, or refrigerant leak indicators such as oily residue.
Unusual noises and decreased energy efficiency are signs something’s wrong.
Even though seasonal cleaning and regular maintenance are important, sometimes DIY fixes just don’t cut it.
When that happens, getting professional service is usually worth the cost. Spotting damage early saves you from expensive repairs later and helps your system run smoothly.
Conclusion
Now that you’ve cleaned your AC coils, imagine the cool, crisp air flowing smoothly through your space, free from dust and debris. By following these precise steps, you’ve restored your unit’s efficiency and extended its lifespan.
Keep your coils straight and clean, and your system will reward you with consistent, powerful cooling. Regular maintenance isn’t just practical; it’s essential for comfort and performance all year round.
Stay proactive and enjoy that invigorating breeze.