How to Turn On Your Air Conditioner in 5 Easy Steps
To turn on your air conditioner, first set your thermostat to COOL mode and lower the temperature below the room’s current level. Make sure the circuit breaker is ON and flip the outdoor electrical disconnect to power the unit.
Next, check your air filter. If it’s clogged, replace it to keep the airflow strong and steady. Also, clear away any debris around the outdoor unit and ensure it’s sitting level.
Finally, take a quick look at the drain and refrigerant lines before you start the AC. Once everything looks good, turn it on and keep an eye out for any issues. Following these steps will help your air conditioner run efficiently and avoid common problems.
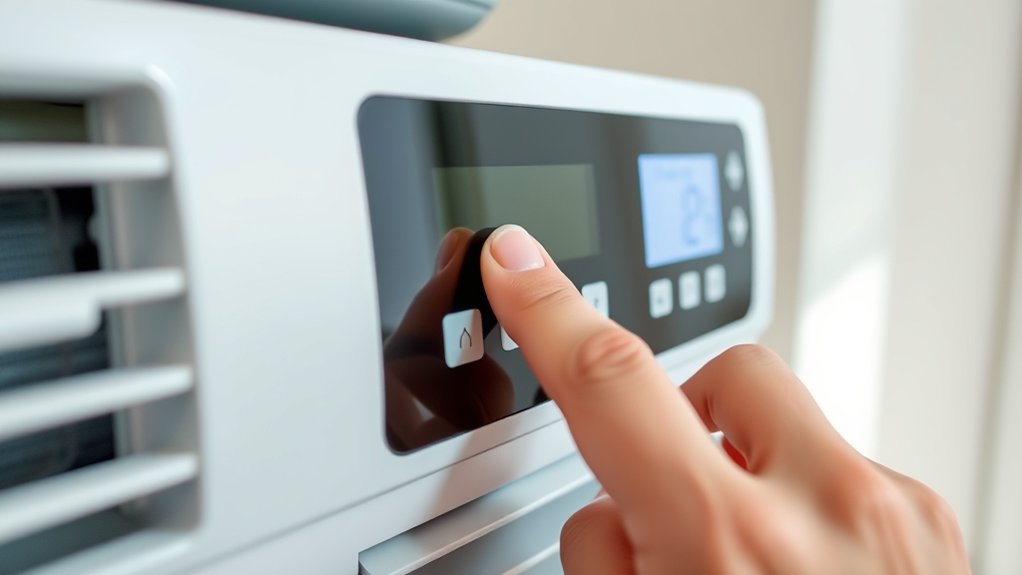
Set Your Thermostat and Power On Your AC
Begin by setting your thermostat to COOL mode and lowering the temperature a few degrees below the current indoor temperature to optimize cooling efficiency.
Next, check the circuit breaker to verify it’s in the ON position, since a tripped breaker will prevent the air conditioning unit from powering on.
Check the circuit breaker is ON to ensure your air conditioner receives power and operates properly.
If you use a smart thermostat, update its cooling schedule to match your comfort preferences and improve energy savings.
Make sure the outdoor electrical disconnect is engaged to supply power to the AC unit.
After you set your thermostat and power on your AC, wait several minutes for the system to start.
Listen carefully for any unusual sounds, as they might mean the unit needs maintenance.
Following these steps helps ensure your air conditioning unit runs efficiently and reliably.
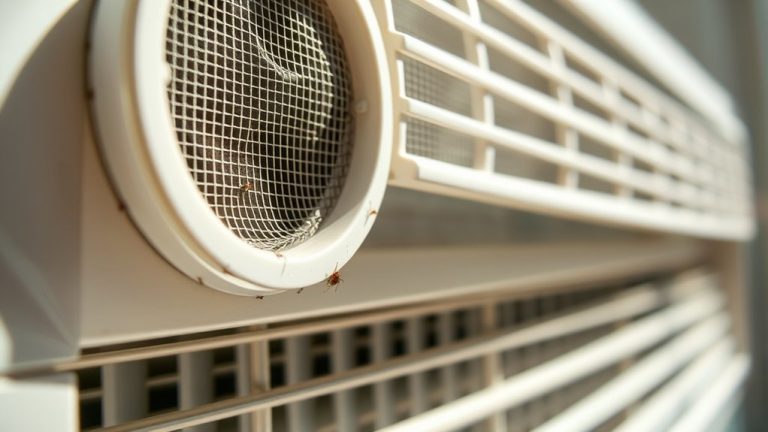
Inspect and Replace Your Air Filter
After powering on your AC and confirming the system is running smoothly, inspect the air filter to guarantee proper airflow and system efficiency. Remove the filter and check for dust buildup or clogging, which restricts airflow and reduces cooling performance.
Replace the air filter every 30 to 90 days, depending on usage and indoor air quality, to maintain peak system efficiency and lower energy consumption. Use the correct filter type specified for your unit, ensuring it fits properly to prevent air leaks.
For ductless systems, consider washable filters and clean them monthly. A clogged air filter not only increases energy costs but can also cause the evaporator coil to freeze, leading to system failure.
Proper inspection and timely replacement are essential to sustain efficient cooling and healthy indoor air quality.
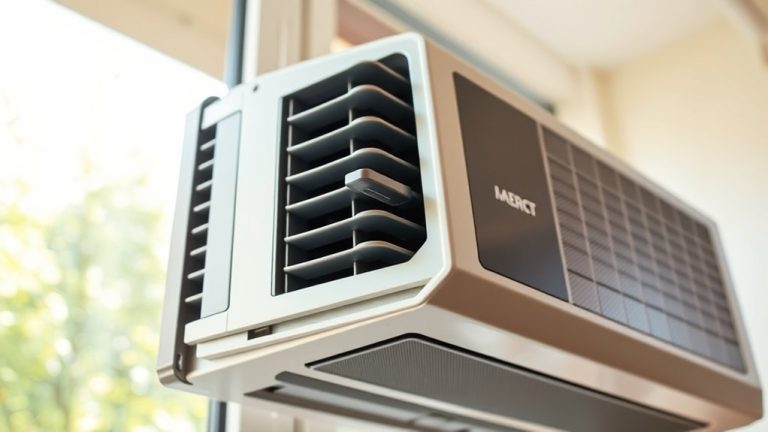
Clear and Prepare Your Outdoor AC Unit
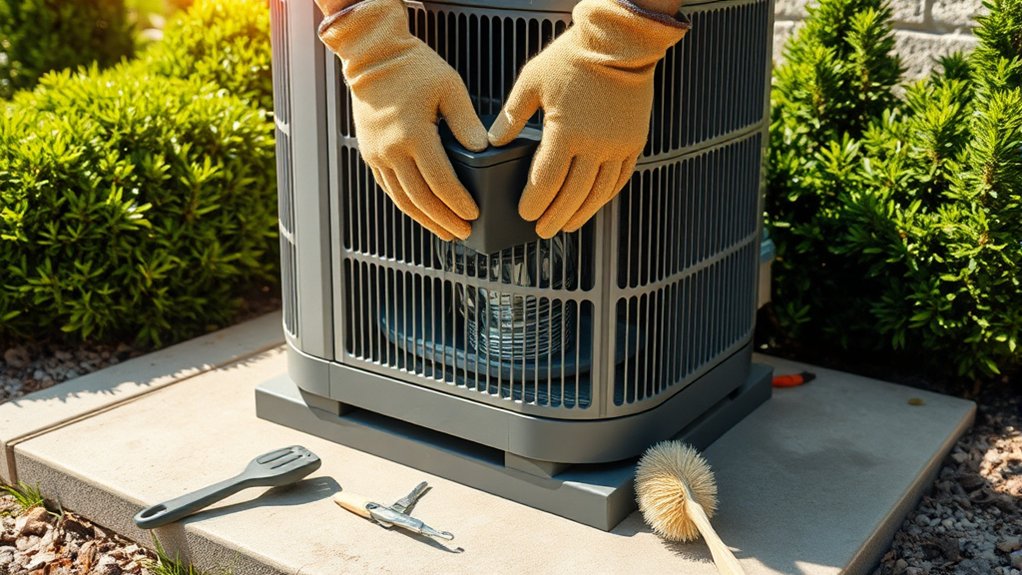
To guarantee your outdoor AC unit operates efficiently, clear at least two feet of space around it by removing leaves, twigs, and dirt that can block airflow and cause overheating.
Maintain this two-foot clearance to promote ideal air intake and cooling effectiveness.
Next, inspect the condenser coils for debris buildup. Gently rinse them with a garden hose to restore proper heat exchange. This step really helps your unit work better.
Check the unit carefully for any visible damage, such as bent fins or rust. These issues can impair performance and reduce the lifespan of your AC.
Finally, make sure your outdoor AC unit is level and stable to prevent vibrations and operational issues.
Properly clearing and preparing your unit enhances airflow and keeps your cooling efficient throughout the season.
Taking these small steps can make a big difference.
Check Drain and Refrigerant Lines for Issues
Two vital components to inspect before turning on your air conditioner are the drain and refrigerant lines.
First, check the drain line for clogs by looking for water buildup. Then, flush it with vinegar to prevent blockages that cause leaks.
Next, examine the refrigerant lines for signs of damage such as frost or visible leaks. These usually indicate low refrigerant levels. Make sure all connections on these lines are secure to avoid leaks and keep your cooling running efficiently.
Also, take a look for any exposed ductwork that might cause refrigerant loss. If you find any issues or signs of damage, it’s best to schedule a professional inspection promptly.
Regular maintenance of both drain and refrigerant lines is essential to prevent costly repairs and keep your AC system working at its best.
Run Your AC and Troubleshoot Common Problems
Start by verifying your thermostat is set to cooling mode and the circuit breaker is switched on, making sure your AC gets power.
Next, run your AC unit for about 15 minutes while watching the air temperature and airflow. Take a moment to check for weak airflow or any unusual noises coming from the system.
Also, look at the outdoor unit to see if there’s any debris around it. Make sure it has at least two feet of clearance so it can ventilate properly.
Don’t forget to replace any dirty filters. This helps prevent airflow restrictions and keeps your AC running efficiently during the cooling season.
If you notice musty odors or the airflow stays weak even after cleaning, it’s time to dig deeper.
Check your vents and ductwork for any issues. When things get tricky, it’s best to call a professional HVAC technician. They can inspect your system thoroughly and fix complex problems, helping your air conditioner perform at its best and last longer.
Frequently Asked Questions
How Often Should I Schedule Professional AC Maintenance?
You should schedule professional AC maintenance at least once a year to catch common AC problems early.
Yearly inspections come with benefits like checking refrigerant levels, cleaning condenser coils, and calibrating the thermostat.
Keep an eye out for signs that your AC needs maintenance, such as poor cooling or strange noises.
While you can handle some DIY tasks like replacing filters and inspecting basic ductwork, those won’t cover everything.
Getting an annual professional service really helps guarantee your AC runs at peak performance and lasts longer.
It’s a small effort that can save you from bigger headaches down the road.
Can I Use My AC With Windows Open?
You shouldn’t use your AC with windows open because it causes airflow issues and reduces cooling capacity. Open windows compromise window seals, allowing warm outdoor temperatures and humidity levels inside, which increases energy costs.
I get that ventilation is important, but poor air quality and the need for good insulation make keeping windows closed essential.
Different AC unit types rely on stable indoor conditions, so it’s best to keep your windows shut.
This way, you optimize efficiency and help prolong your AC’s lifespan. Trust me, it’s worth it to keep things sealed up tight while your AC is running.
What Is the Ideal Temperature Setting for Energy Savings?
Set your thermostat to 78°F for ideal energy savings while keeping comfort levels balanced.
Adjust the temperature settings seasonally to match your cooling zones and get the most out of your system’s performance.
Using a programmable thermostat can really help by automating these changes. This way, you reduce energy bills when you’re away without even thinking about it.
Keep humidity control between 30% and 50% to boost efficiency.
Also, make sure your thermostat is placed away from any heat sources so it gives you accurate readings.
By following these steps, you can enjoy steady energy savings without giving up comfort.
It’s all about smart adjustments that work with your lifestyle.
How Can I Improve My Ac’s Energy Efficiency?
To improve your AC’s energy efficiency, follow some key energy-saving tips.
Regularly replace or clean air filters every 30-90 days. This helps your system run smoother and use less energy.
Try to keep your thermostat around 78°F for the best balance between comfort and efficiency. Using a programmable thermostat can make this easier since it gives you precise control over your cooling schedule.
Make sure to seal ducts and consider insulation upgrades to prevent energy loss.
Also, keep appliances away from your thermostat so it doesn’t get false readings and overwork the system.
Use fans wisely to help circulate air and control humidity levels in your home.
And don’t skip seasonal maintenance—it’s important to keep your AC running smoothly and efficiently all year long.
What Should I Do if My AC Makes Unusual Noises?
If your AC makes unusual noises, act like a detective sniffing clues. Start troubleshooting by inspecting common noise sources. Check the air filter first because clogged filters can cause strain.
Listen carefully for sounds that might mean compressor issues or refrigerant leaks. These problems usually need a professional to fix.
Also, take a look at the ductwork and electrical connections if you hear buzzing or rattling.
Fan problems and insulation issues can create noise too. Avoid risky DIY repairs. Instead, handle minor fixes safely and call experts when necessary.
Conclusion
Turning on your air conditioner is like starting a finely tuned engine. Each step confirms peak performance. Just as a race car driver checks every gauge before the green light, you’ve set your thermostat, replaced filters, cleared the outdoor unit, and inspected lines.
Following these steps assures your AC runs efficiently and reliably. Remember, a well-prepped system isn’t just cool air. It’s your comfort engine ready to roar on the hottest days.